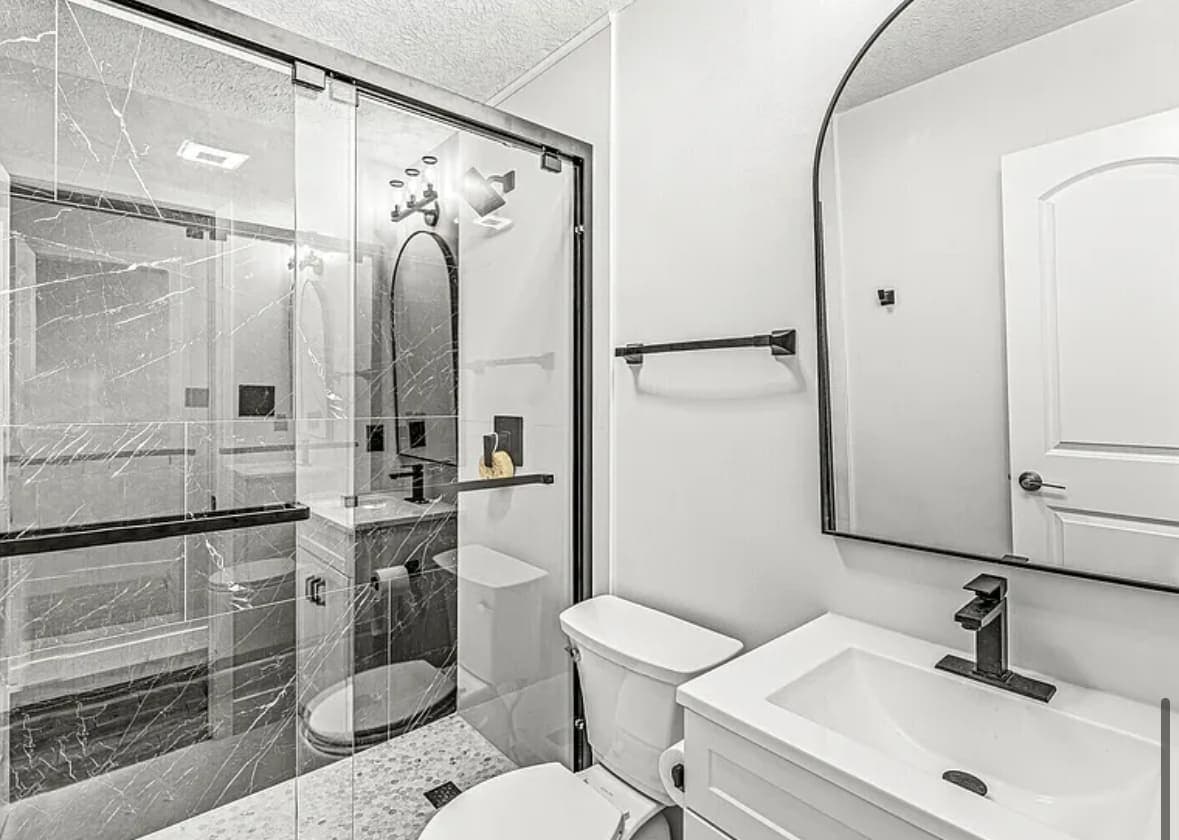
The black line runs along the joint where the shower wall meets the pan, or where the tile meets the top of the tub. You cleaned it, it looked right for a while, and it is back in the same place. Before you buy a tube of silicone: three different problems show up wearing that black line, and only one of them is fixed by a new bead.
One lives on top of the caulk and wipes off. One lives under the skin of the caulk, where no cleaner reaches it. One is not in the joint at all — it is in the wall behind it, and the joint is only where you can see it. Telling them apart takes a cleaner, a fingertip and a knuckle.
The test that sorts most of it
Pick the worst short length of joint. Clean it properly — a household bathroom cleaner and a non-scratch pad, worked into the joint rather than wiped across it, then rinsed. Dry the joint, dry the room, and leave it alone. What happens next is most of the diagnosis.
- It comes clean and stays clean. Surface growth. The room never fully dries.
- It does not come clean at all. The staining is beneath the silicone, not on it. The bead never bonded.
- It comes clean and the black is back within days, in the same short stretch. The source is behind the joint, and cleaning the outside of a wet wall does nothing.
Two checks go with it. Press the bead: a sound one is firm and moves with the tile, a failed one feels spongy and shifts on its own. Then tap the tile either side with a knuckle, working outward from the corner, listening for the point where a solid tap turns drummy.
Surface mildew: it wipes off, and it comes back slowly
Cured silicone is not food. What grows is the film on it — soap residue, conditioner, body oil, shampoo that ran down the wall and dried there — in a room that stays damp between showers.
This one announces itself. It sits on top, and once you have wiped a section the bead underneath is its original color and still rubbery. It is worst where water sits and things sit in it: the low end of a vertical corner, the wall-to-floor joint, behind the shampoo bottles, the flat top of a curb. It spreads evenly along the whole joint rather than concentrating in one hand-width, and it returns over weeks rather than days, everywhere at once.
That is a drying problem, not a caulk problem. Recaulking buys one clean season and puts you back where you started. The fan is doing less than you think in most of the bathrooms we open up, and if the mirror is still fogged long after you have towelled off, the room is not clearing. Run the fan past the end of the shower rather than switching it off with the light. Squeegee the walls. Wipe the corner.
We will not tell you what is growing or what it means for the people in the house. We do not test, identify, remediate or abate mold, and a contractor who offers to diagnose that on a walkthrough is selling something. The EPA publishes homeowner guidance on mold and moisture, and the Indiana Department of Health is the state authority for it. Testing is a lab's work. Ours is the water.
A bead that never bonded
The second one looks worse and is usually less serious. Cleaner does nothing because the staining is under the skin, not on it. Water got beneath the bead and has been sitting there in the dark since the day the joint was sealed.
How you tell
- On clear or translucent silicone you can see it through the material, the way you see something under glass. It has depth.
- A cleaner that lifts the film everywhere else leaves this stretch exactly as it was. Scrubbing harder changes nothing.
- Press it. A failed bead is soft and moves independently of the tile.
- Get a fingernail or a plastic scraper under one edge. A bead that never bonded lifts as one continuous rubbery ribbon. A bead that is properly stuck has to be cut off in pieces.
- Look at the shape. Heaped and proud rather than pressed in, or a feathered edge already curling — poor grip, and a lot of edge for water to get behind.
Why it happened
Silicone is fussy about what it sticks to, and the failures are all on one short list. Over old silicone, which nothing bonds to reliably. Over grout run through a corner that should never have had grout in it — the corner is a movement joint, not a grout joint, and that one fact explains most of what fails in a shower. Over a damp joint, sealed the same day the shower was used. Over soap film or existing growth, which is what people do to themselves at the second recaulk. Or siliconized acrylic, which tools beautifully and then shrinks and chalks in a wet corner.
A tub caulked empty is the other one. It drops when someone fills it, and the joint opens along its top edge the first time it is used. Filled, sealed, skinned over, then drained is the sequence — one of the details that live where the tile meets the tub.
What the real repair is
This is a homeowner's Saturday if the tile is sound and the joint is short. It is also the job people do badly, because the part that decides the outcome is the boring part.
- Cut and rake out all of it. Every trace, not most of it. A plastic blade against an acrylic tub or a glazed edge you care about, an oscillating tool with a grout blade where old grout has to come out of the corner too.
- Deal with the residue. Cured silicone leaves an oily witness the new bead will refuse to stick to just as firmly. Solvent wipe, detergent wash, rinse.
- Dry it. Actually dry — no shower in that room until the joint has dried through, fan running.
- Bond breaker in a deep joint, so the bead stretches between two faces instead of sticking to three and tearing.
- One continuous bead of pure silicone, tooled into the joint rather than heaped over it.
Pulling the old bead out is also the best diagnostic you have. With the joint bare you can see whether there is a real gap to seal or two tiles butted hard together with nowhere for a bead to live, whether the grout at the bottom course is sound, and whether the board behind the corner is firm under a probe. Look first.
Water that is already past the joint
This is the case the test exists to catch. If the black is back within days of a genuinely clean, dry joint, the wall behind it is wet and staying wet. You can recaulk as often as you like. The joint will keep reporting.
- Speed of return. Days rather than weeks is the clearest signal there is.
- Location. One hand-width rather than the whole joint — usually the wall-to-floor joint, the corner nearest the valve, or the bottom of a corner where it meets a curb.
- The grout below it. The lowest course stays dark long after the rest of the wall has dried, or the grout has gone soft and powders under a fingernail.
- The sound. Tap outward from the corner. When a solid tap turns drummy, the tile has lost its bond to what is underneath, and a wet substrate is one of the reasons that happens.
- The other side of the wall. A damp line at the base, blistered paint, a cupped baseboard, or a stain on the ceiling in the room below.
- Smell. Musty, and stronger while the shower runs and for a while after.
Behind all of it is the layer nobody sees. Tile and grout pass water steadily; the membrane behind them is the only thing sending it back to the drain, and what goes behind bathroom tile decides whether a wet corner is a nuisance or a rebuild. When that layer was never installed, stopped short above the pan, or was punctured at the valve and never sealed, water leaves the shower at the joint that takes the most water in the room. Which is where you are standing.
This one is not a Saturday, and the honest answer about scope is that it has to be opened to know. At minimum a section of tile comes off so the board can be seen and pressed. If the board is soft it comes out, and the tile with it. If the water reached the framing, the pan or the liner, the shower gets rebuilt from the substrate up. Nobody can tell you which of those from the doorway, and a repair quoted without opening anything is a guess somebody will correct later.
When it is somebody else's job
A valve, a supply connection or a drain leaking inside the wall or under the base puts water into the assembly from behind, and no tile work fixes it. That is a plumber, and we will say so rather than take tile off to prove it. Same for a waste-and-overflow gasket that leaks only when the tub is filled past the overflow. If water arrives whether or not anyone has showered, stop thinking about caulk.
One own goal is worth knowing about because it is free to fix. A shower door is sealed on the outside of its jambs and the outside edge of the bottom track, and the inside is left open so the track drains back into the shower. Sealed both sides, that track is a trough that never dries and the caulk at its ends goes black first — one of several things a glass enclosure asks of the room around it.
What we do standing in your bathroom
Look, press, tap, smell. Check the wall on the far side and the ceiling underneath. If it is still ambiguous, pull a length of bead out and look at the joint — the joint answers the question, and a new bead afterwards is a small job either way. We check first, then quote.
It is worth knowing the gap between the two ends of this. Independent research on this market — Angi's Indianapolis bathroom cost work and published Greater Indianapolis contractor cost guides — puts a typical bathroom remodel around $10,000, with most falling between roughly $5,700 and $14,700. A black caulk line is not that. It becomes that when it has been left long enough to get past the tile and into the framing.
What not to do while you decide
- Do not run a new bead over the old one. It will not bond, and you have hidden your only evidence.
- Do not fill the corner with grout. A rigid material in a joint that moves cracks, and then it wicks.
- Do not assume a mildew-resistant tube solves it. The additive slows growth on the face of the bead and does nothing for water underneath or behind it.
The short version
If it wipes off and stays off, the room is not drying and the fix is air, not silicone. If it will not wipe off at all, the bead never bonded, and the repair is total removal, a dry joint, and one continuous bead of pure silicone. If it comes back within days in the same spot, the tile sounds hollow beside it, or there is a stain on the ceiling below, the water is already past the joint.
The first two are yours. The third needs the wall opened before anyone can tell you honestly what it costs — which is why waterproofing and joint sealing get their own stage on a bathroom remodel rather than the last hour of a tile job. If you would rather have somebody read the corner than reseal it, ask for an estimate and we will walk it with you.
