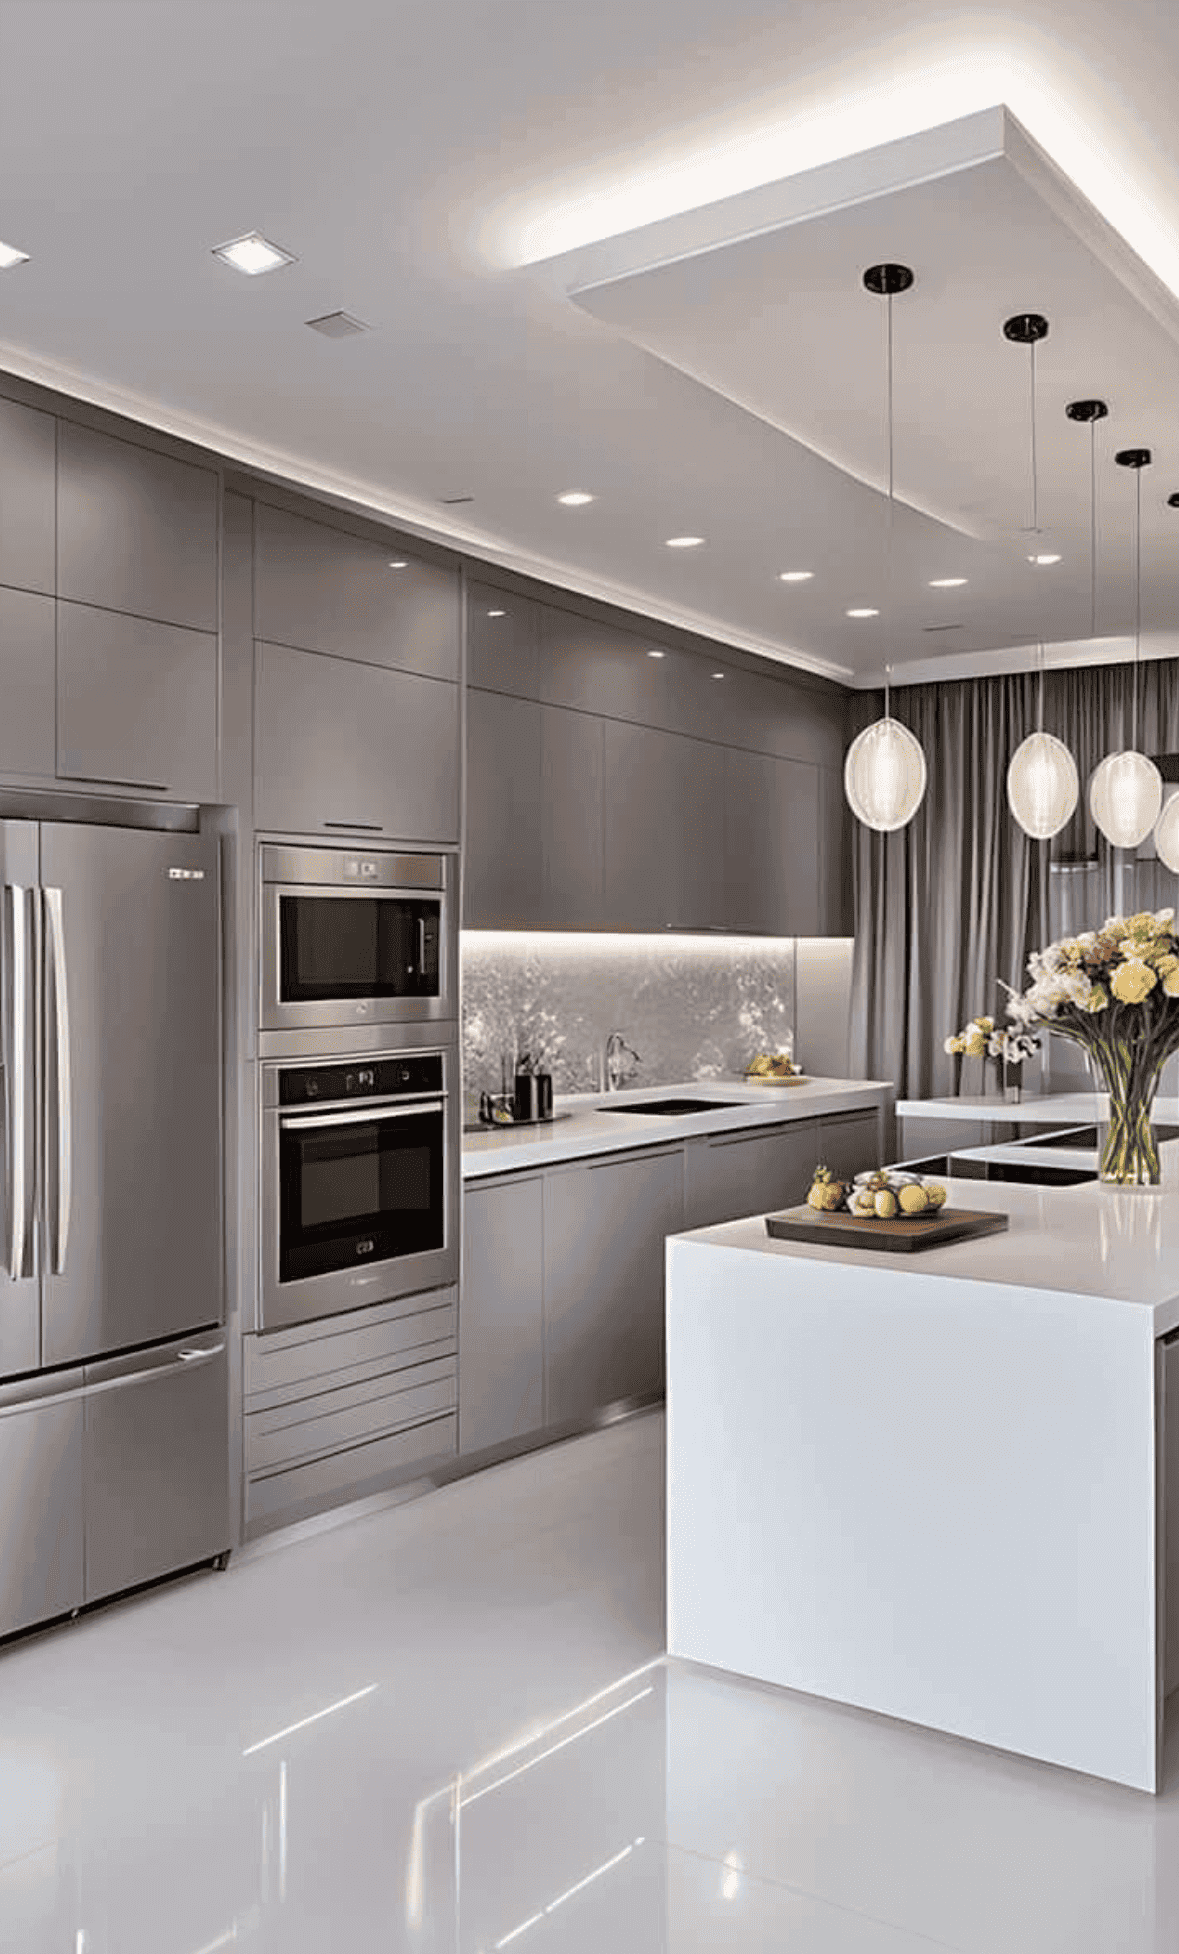
Almost the whole backsplash conversation happens over samples. Glass or ceramic, herringbone or stack bond, warm white or the white that goes gray under the under-cabinet lights. Very little of it happens over the one line on the wall that decides whether the finished kitchen reads as deliberate: the line where the tile stops.
That line is not a taste decision and it is not reversible. Material you can argue about at length and still end up happy either way. A termination that lands in the middle of open drywall looks unfinished the day it goes up and never stops, and no amount of money spent on the tile repairs it. The eye reads a stopping point as either intentional or abandoned. There is no third category.
So the useful order is backwards from how most people do it. Decide where the tile ends first. Then decide how high. Then pick the tile.
What the backsplash is actually doing
Two jobs, in two places, and they get confused.
Behind the sink it is a wet surface, running water down onto the joint where the counter meets the wall. Behind the range it is a hot, greasy surface that gets scrubbed. Everywhere else it is doing almost no work — a band of color at eye level.
Hold onto that split. The stretches doing no work are where terminations go wrong, because nothing functional says stop here.
The three places a backsplash can honestly stop
Tile has to die into something. There are three somethings that work.
Into a solid edge
An inside corner, a door casing, a window jamb, the side of a tall pantry or a refrigerator panel. The wall changes direction or a piece of trim arrives, and the tile ends because something physical made it end. It is the cleanest stop available, and it usually asks for nothing more than a few extra square feet of the same tile, carried past where the counter stops to the next real edge.
The instinct is to end tile where the countertop ends. Resist it on a wall that keeps going. A counter can stop mid-wall because it is horizontal and the eye accepts it. A vertical field of tile cannot.
Around an outside corner, with a finished return
Where a run of counter ends at an outside corner — a peninsula end, a wall that stops at a doorway — wrap the tile around the corner and die it into whatever is on the other side, or wrap it a short distance and finish the exposed edge: a mitred corner, a glazed bullnose, or a metal profile set into the thinset. A wrapped edge reads as thickness, which is what tile actually is. A raw cut edge with a bead of caulk over it reads as the place the tiler stopped.
At the ceiling
Counter to ceiling has no ambiguous stop, because the ceiling ends it. It costs more in material and in labor, and on the range wall it is often the detail that makes a modest kitchen look considered.
The other option — stopping in open wall at whatever height the last course reached — is worth naming out loud, because it is what you get by default when nobody decides.
How high, between the counter and the cabinets
The default is to fill the gap. Counter to the underside of the cabinet box, wall to wall. Simplest to draw, simplest to price, and right far more often than not. The alternatives exist for reasons worth knowing.
- A short splash in the counter material — a strip of the same stone or quartz, set on the counter against the wall. Not a small backsplash. It is countertop, cut by the fabricator, and it is the honest choice when the wall above is painted and staying painted. It also covers the scribe gap where a straight counter meets a wall that is not.
- A partial-height band of tile. Works only when its top line agrees with something already in the room — a window sill, the top of the range, the line of a cased opening. Agreeing with nothing, it is a stripe on the wall.
- Behind the light rail. If the wall cabinets carry a light valance, the tile can run up behind it and the rail hides the top cut — forgiving on a cabinet run that is not perfectly level. Decide it before the tile goes up.
The range wall is a different wall
The wall behind the cooking appliance is where the geometry gets decided, and the rest of the room follows it.
An over-range microwave gives the field a low flat stop and there is not much to argue about. A chimney hood leaves tall open wall above the cabinet line, in the most looked-at part of the room, and it needs an answer. Going to the ceiling ages best. Stopping at the underside of the hood ties the width of your tile field to the width of that hood — swap the hood for a narrower one later and the ghost of the old one is sitting there in tile.
If you are setting a feature panel behind the range, center it on the range, not on the wall. Those are almost never the same point, because cabinet runs get sized to fit and the wall does not care. The eye checks the hood and the range against each other, not against the corner of the room.
One more thing on this wall: before putting anything combustible near a range — beadboard, a timber shelf beside the hood — check the appliance manufacturer's clearance to combustibles. It is printed in the installation manual and it governs, whatever the photo you saw was doing.
Material, and where each one gets awkward
Ceramic and porcelain
The forgiving option, and the reason it is still the most common. Cheap to buy, predictable to set, available with a glazed edge so a termination can be handled without a metal profile. Dimensionally consistent, which matters more than it sounds — a backsplash sits under raking light from the under-cabinet fixtures, and variation in the tile itself becomes a shadow.
Glass
Beautiful and unforgiving. Glass is translucent, so what is behind it shows through: the color of the thinset, the color of the wall, every trowel ridge the setter left. It wants white thinset, a uniform substrate and a very flat wall. Glass rarely comes with a bullnose, so exposed edges need a metal profile or a factory-polished edge. Cutting it chips if the blade or the hand is wrong.
Natural stone
Marble and travertine are porous. Behind a range, cooking oil goes into honed marble and stays, and no sealer is a permanent answer to that. Stone also has to be sealed before grouting, or the grout colors the joints permanently. If you love the stone and you cook hard, that is a real conflict, and the honest resolution is usually to pick one material for the room and let it be the one you can clean.
Mosaic sheets
Fast to hang, slow to finish. The joint between two sheets has to match the joints inside them, or the grid of the mesh backing shows up across the wall as a set of wider lines. Cut edges leave partial tiles that need a trim piece or a re-planned layout, and on translucent glass mosaics the mesh itself can read through in certain light.
Slab and large-format panel
The countertop material carried up the wall, or a single large porcelain panel. No grout joints at all, which is the whole argument for it. The catch is that cutouts are made at the fabricator, so the electrical layout has to be final before the template is taken — the same set of decisions as seams, cutouts and edges on the counter itself. It is priced like countertop, not like tile.
The wall behind it decides more than the tile does
A run of cabinets hides a wavy wall. Tile advertises one, and the bigger and more reflective the tile, the louder it advertises — the same mechanism that makes tile format change the labor, not just the look. A wall that is fine under paint may need skimming before it is fine under glass.
Two details we look at before quoting one.
The first is the joint at the counter. Countertops are scribed to a wall that is not straight, so the gap varies along the run. The bottom course of tile is set off the counter on shims rather than resting on it, and the joint between tile and stone is caulk, not grout. Two materials moving at different rates — that is a movement joint, and grout in it cracks.
The second is what is under the old backsplash. Pulling tile off drywall usually takes the paper face with it and sometimes a patch of board. That wall gets skimmed or replaced before anything new goes on, which is one reason a backsplash quote lands higher than a square-footage guess.
Outlets, and everything else that interrupts the field
Every outlet and switch is a hole in the pattern, and there are a lot of them along a counter. Two things matter.
The boxes have to come forward to the new finished surface. Tile moves the wall out and the box has to move with it — an extender ring, not a recessed box with a cover plate bridging the gap. Small part, routinely skipped, and it shows.
The layout has to be set around them. Where the field starts decides where the cuts land, and a sliver of tile beside an outlet is the thing you will notice every day. Ask to see the layout marked on the wall before anything is set.
If you want the outlets out of the field entirely — power moved under the cabinets instead — that is electrical work, and electrical change is one of the things that puts a job into permit territory in Fishers. Worth knowing before it arrives as a change order.
Where this lands in the budget
A backsplash is a small area doing a lot of visual work, and that has a useful consequence: the material price barely moves the total. We do not publish our own prices, for the reason we give everywhere on this site — a number written before anyone has seen your kitchen is a guess. What we can point at is what independent research says about the whole room: it puts a typical Indianapolis kitchen remodel in the region of $18,000 to $24,000, across a full spread of roughly $8,000 to $40,000 depending on how much of the room changes. The tile on a backsplash is a very small slice of that, whichever tile you pick.
So if there is one place in the kitchen to buy the material you actually want, this is it. The corollary holds too — the cheapest tile on the rack saves almost nothing. What moves the number is the wall repair underneath, the electrical, the trim pieces at the terminations, and the labor the material demands once it is up.
If the cabinets are being repainted in the same job, the tile goes on after that finish has cured — worth raising early while you are still working out whether to repaint, reface or replace. Backsplash installation sits in the keep-the-layout half of the kitchen remodeling page, next to counters and cabinet finishing, because those three get decided together or they fight.
Before anyone orders tile
Do this with a roll of painter's tape before anything is ordered.
- Mark the stop at each end of every run — the exact vertical line where tile meets wall. Name what it dies into.
- Mark the top line on the range wall. Then mark it again at the ceiling, and look at both.
- Stand in the doorway, not at the counter. That is where the room gets seen from.
- Live with the tape for a few days.
If a line has nothing to die into, that is the problem to solve — not with a different tile, but by moving the line to the next real edge, going to the ceiling, or wrapping a corner and finishing it properly.
We walk this with the tape at the estimate, before any material is chosen, because a line is cheap to move on a wall and expensive to look at afterwards. If you want yours looked at, ask for an estimate and we will mark it up with you.
