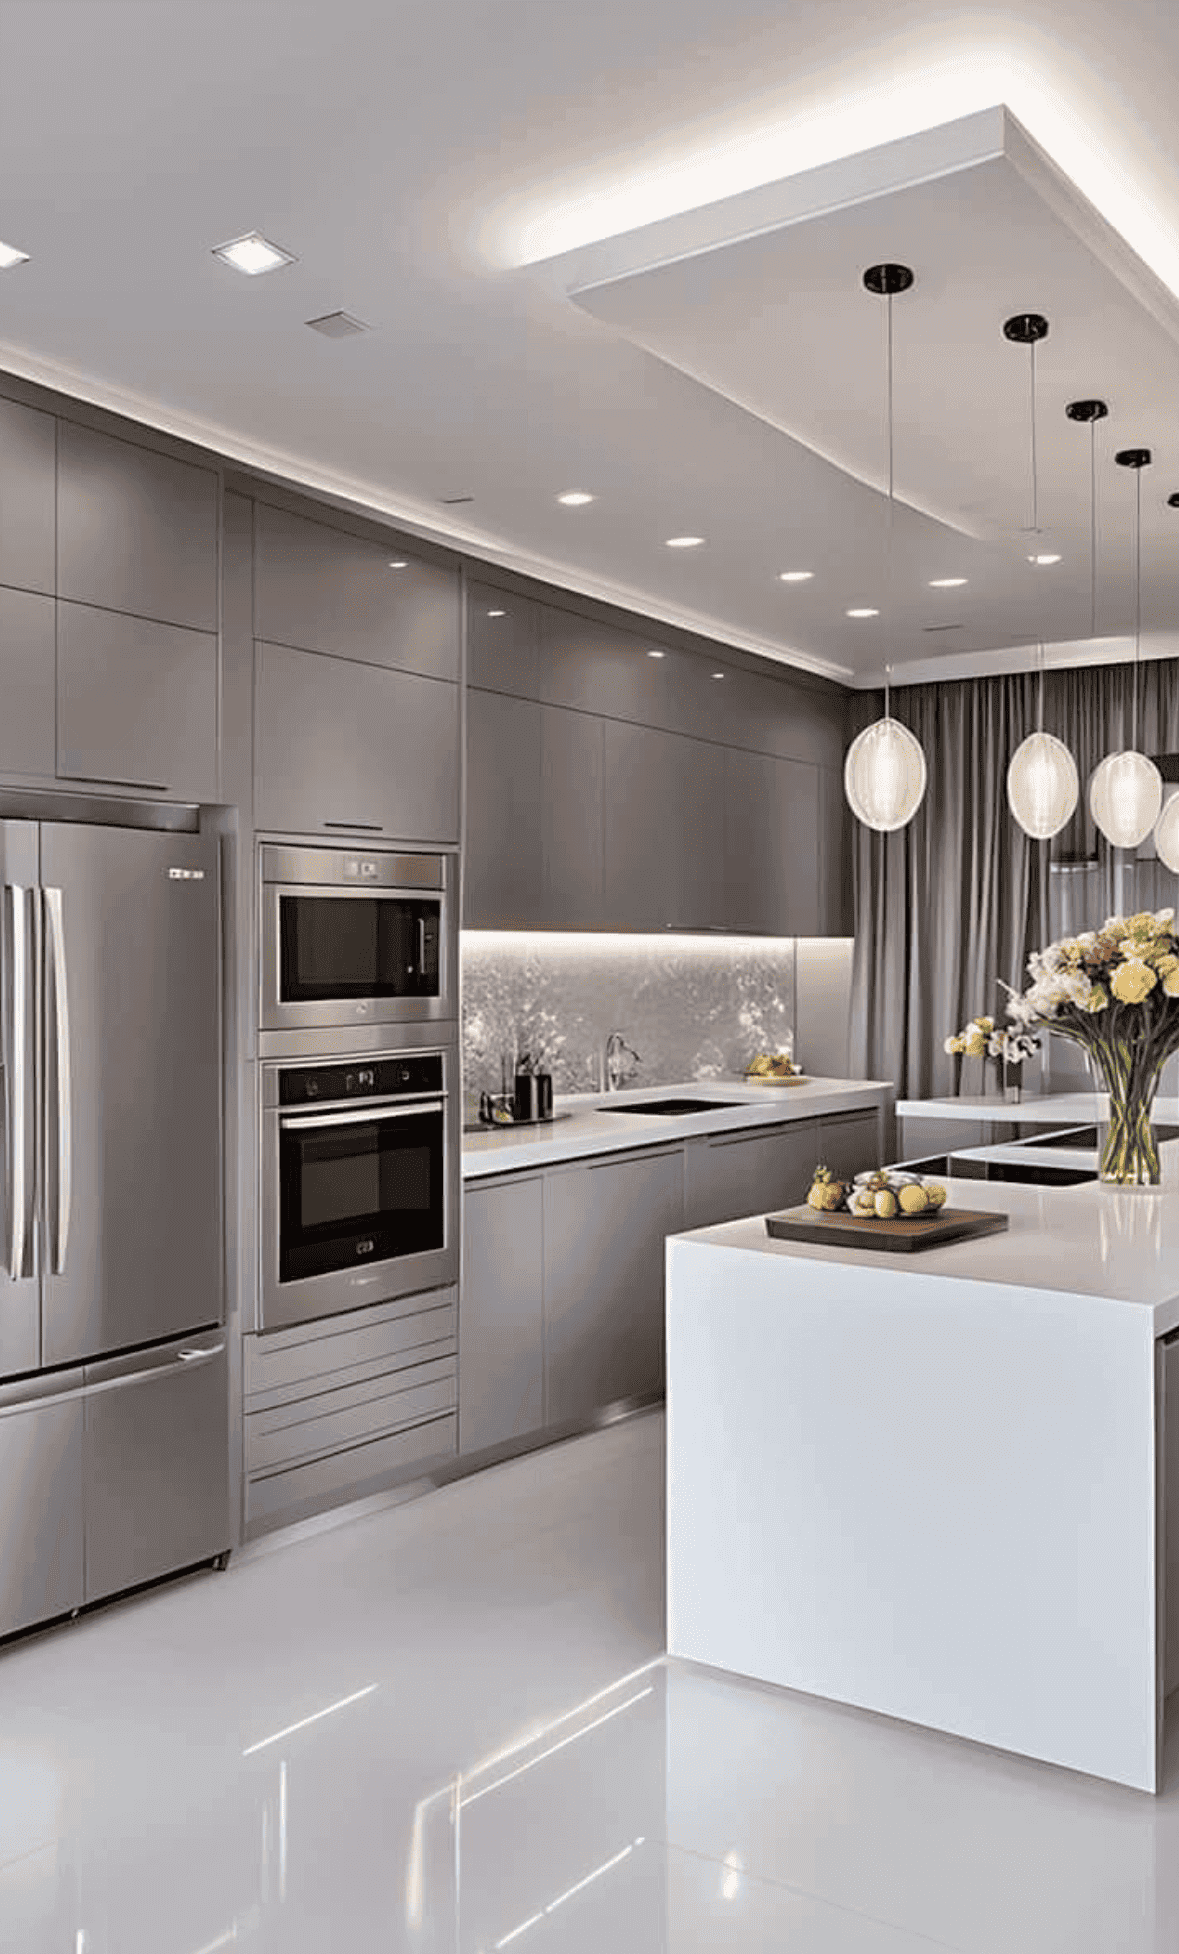
Pull your range forward and look at what it was covering. If the countertop stops in two finished edges with a gap between them, and a painted panel stands up behind the burners, the kitchen was built for a freestanding range. If the stone is cut into a notch, the tile runs down to the counter behind the burners, and the cooktop was resting its edges on the stone either side, it was built for a slide-in. Those are two different countertops.
The range is the one appliance touching the counter, the backsplash, the floor and the cabinets on both sides of it at once. Changing which type you buy changes work in four trades, and nearly all of it happens before the appliance arrives.
Three things differ, and none of them is the oven
The cooking is not the argument. Both types are ovens with burners on top, in the same widths, from the same manufacturers. What separates them is how the box meets the kitchen.
- Finished sides. A freestanding range is finished on both sides in enamel or painted steel, because it was always going to be seen. A slide-in usually is not. Its sides are raw and were never meant to show.
- The backguard. A freestanding range carries a raised panel behind the cooktop with the controls on it. A slide-in has none. Its controls sit on the front face, below the cooktop.
- The lip. On a true slide-in the cooktop is wider than the body beneath it, and that overhang lands on your countertop either side, covering the cut edge of the stone.
Freestanding
A freestanding range is the default fit. It goes between cabinets, at the end of a run, or against a side wall, and looks deliberate in all three positions. The counter needs nothing from it but two finished edges, and the backguard hides whatever band of wall sits behind it.
Slide-in
A slide-in reads as built in. The lip covers the stone, so the eye follows the countertop across the range without a break and there is no crumb gap either side. That continuity is the entire reason it costs more, and it is a real thing to want. It also makes the range depend on a piece of stone cut to a tolerance, and on a wall behind it finished down to the counter.
The ones in between
Two other things sit on showroom floors under similar names.
A front-control range has the controls on the front and no backguard, so from across the room it reads like a slide-in. It has finished sides and no lip. Your counter still ends in two edges and the gap is still there. It is a freestanding range wearing a slide-in face, which is fine if you know that is what you bought.
A drop-in range has no drawer and no legs. It sits in a cutout carried by the cabinets, with a panel below. Almost nobody makes them now, so replacing one is a cabinet job rather than an appliance delivery. Worth knowing before the old one dies.
What the countertop has to do about it
The cutout, and who owns the tolerance
A freestanding range asks the fabricator for two finished edges and a gap wide enough to get the range in and back out. That tolerance is forgiving. A little wide reads as a slightly wider gap. Nothing fails.
A slide-in is the opposite. The lip covers a set amount of stone on each side. Cut the opening narrow and the range will not go in. Cut it wide and the lip does not reach, so you are looking at a raw edge and a shadow line, and stone does not grow back. The figure that prevents that comes out of the installation manual for the exact model — not the brand, not the width class, the model. It is the discipline that governs panel-ready appliances, applied to one hole instead of a whole run of doors.
Countertops get templated after the cabinets are set, so the range gets chosen before template day or the schedule waits on a decision. A narrow strip of stone either side of a cutout is also where a slab is weakest, which is a conversation to have about seams, cutouts and edges rather than one you discover on install day.
Height, and the floor under it
A range stands on its own leveling legs on the finished floor. The legs adjust, within limits printed in the manual. With a freestanding range that adjustment only has to look right. With a slide-in, the lip has to sit flat on the counter along its whole length, so the finished floor height under the range becomes a countertop problem.
If the flooring stops at the front of the range and the range sits down on bare subfloor, it loses the thickness of the floor and its underlayment. Run the floor under the range, or at least establish the same build-up beneath it. That gets settled when the subfloor is leveled, long before anyone is thinking about burners.
The wall behind the range
Here the two choices stop being a preference and become a different scope of tile work.
A backguard hides a band of wall. Behind a freestanding range the tile can stop where the cabinet run stops and nobody sees the difference. Take the backguard away and that band is exposed, in the spot taking the most heat and the most airborne grease in the kitchen. Tile has to run down to the counter behind the range and be finished where it lands, so the material matters more there than anywhere else on the wall. A porous stone or a wide, unsealed joint directly behind a pan is a stain that arrives on its own schedule. That is the practical half of where the tile should stop.
There is a second gap people do not expect. Many slide-ins are shallower front to back than a standard counter, so unless the countertop returns behind the range you get a slot between the stone and the wall. Some manufacturers require a filler strip of countertop back there. That strip is another piece of stone, another edge, sometimes another seam.
The manual also sets clearances from the cooktop to combustible surfaces above and either side. Those govern the cabinet elevation, not the other way round, and they are why a tall pantry pushed against a range is a drawing we usually ask to change. What hangs above is a separate exercise, since capture area comes before airflow on any hood worth buying.
The gap either side, and what lives in it
The crumb gap beside a freestanding range is not a defect. It is the clearance that lets the range come out. Everything dropped on the counter finds it, and everything that finds it lands on the floor beside the anti-tip bracket. The silicone gap fillers sold for it work for a while, then discolour and curl at the ends.
A slide-in removes that gap, and it is the benefit people actually notice day to day. What it gives back is a control panel on the front face, at the height where things get splashed and where a small hand can reach a knob. Controls on a backguard are safe from both, and they make you reach across a hot pan to turn something down. Neither is the right answer. It is a household decision, worth making out loud rather than inheriting from a floor model.
Where the range is allowed to sit
Position rules out one type more often than taste does.
- At the end of a cabinet run. Freestanding. A slide-in there has nothing to rest its lip on, and a raw side to hide.
- Between cabinets on a wall. Either. The only position where the choice is genuinely free.
- In an island or peninsula. The back of a slide-in is unfinished and the services come out of the floor, so the island gets built to box it in. The venting also moves from a wall hood to a ceiling hood or a downdraft, which is a different budget.
- In a corner. Oven doors and cabinet handles collide there, whichever type you buy.
The aisle is the check people skip. NKBA guidance is a minimum clear work aisle of 42 inches for a one-cook kitchen and 48 inches where two people work in the same aisle or somebody passes behind the cook — measured with doors open. An oven door is the largest door in the kitchen, and it swings into the aisle from below waist height, carrying something hot. Those are design guidelines rather than Indiana code, and they are what we hold an island layout against before anything gets drawn. The rest of that arithmetic is in the clearances that decide whether an island fits.
Gas, power, and the shaded box on the rough-in drawing
Every installation manual prints a rear-wall drawing with a shaded area on it. That is where the gas shutoff and the receptacle are allowed to live. Inside the box, they clear the back of the range. Outside it, they hold the range off the wall — and a slide-in held off the wall is a lip no longer sitting on the stone.
A shutoff set at a convenient height in the middle of that wall is a common find when a range comes out. It suited whoever installed it, and nobody had a drawing. Electric ranges have the same problem in receptacle form, plus an older range outlet that may predate the separate ground now required.
Changing fuel is its own project. Gas where there was only electric means a new line and a permit; electric where there was gas means a dedicated circuit pulled back to the panel, which lands in the same territory as the circuits an inspector checks. If the range is also moving to another wall, the services move with it — the same way relocating a sink drags plumbing along.
The range after this one
A freestanding opening takes whatever the market is selling when the day comes. The standard widths and depths have been stable a long time, and almost everything is built to them.
A slide-in cutout is less universal. How much lip a range gives you varies by manufacturer, so a replacement from another brand may cover your opening generously, exactly, or not quite. That is not a reason to avoid slide-ins. It is a reason to keep the model number and the manual with the house paperwork, and to measure the stone opening before ordering, not after.
What to decide, and when
The range type is a countertop and backsplash decision that arrives in an appliance catalog. It gets settled at the cabinet drawing stage, because that is where the opening, the wall finish, the hood and the aisle are committed at once — and the drawing is the last cheap place to change a kitchen.
If the layout is staying put, this belongs to the keep-the-layout half of the kitchen remodeling page, and the advice is plain: pick the range first, hand the manual to whoever templates the stone, put the shutoff where the drawing says. If the range is moving, the plumbing, the circuit and the venting come with it.
Either way, we would rather look at the wall behind your current range before putting a number on anything. Ask for an estimate and we will walk it with you.
