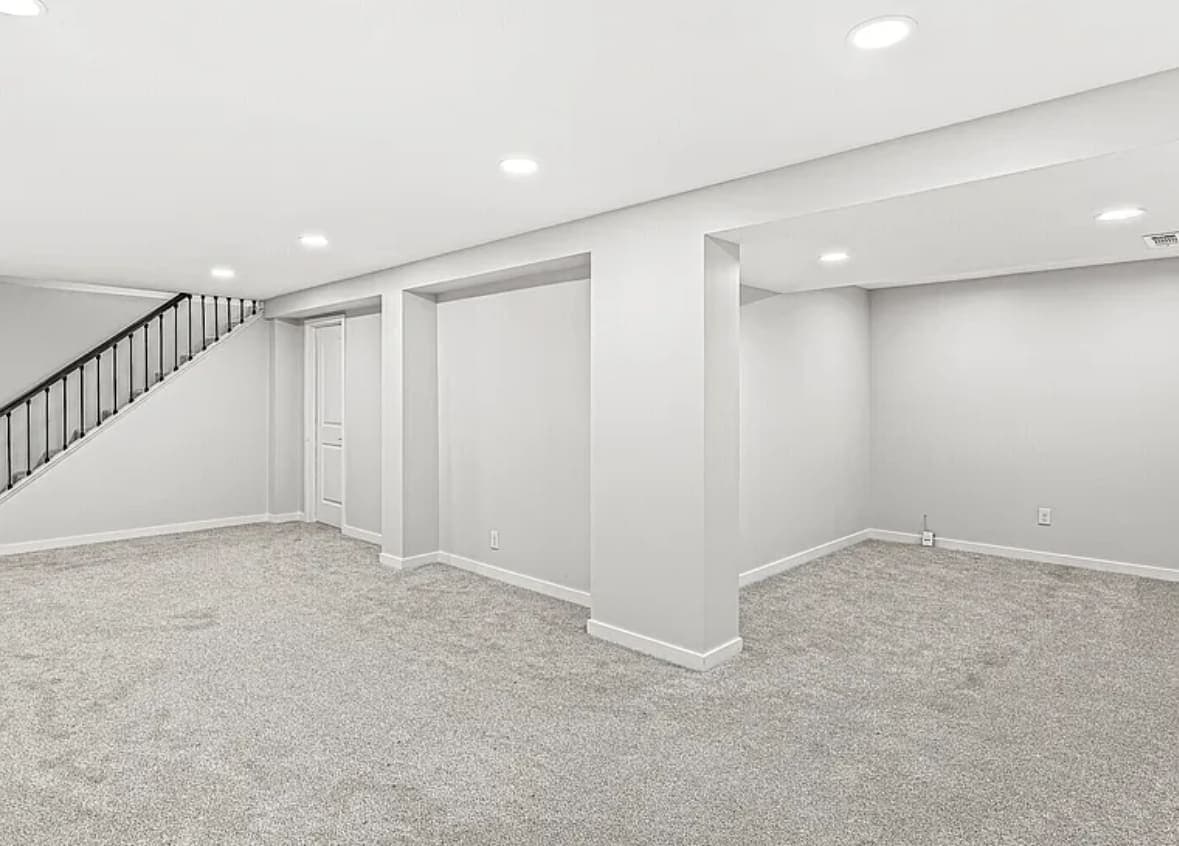
The panels get bought at the drywall stage. They get decided at framing, and by then most people have not thought about them once.
That gap is the whole problem. A finished basement is a lid over the working half of a house — the service panel, the meter, the main shutoff, the furnace, the water heater, the sump pit, and the underside of every fixture on the floor above. The board goes on and all of it keeps running, unattended, until the day something needs a hand on it. What happens on that day was settled months earlier. Either somebody planned an opening, or somebody cuts one.
Both endings are ordinary. One is a square of trim you stop seeing by the second week. The other is a torn rectangle over the sofa, a bucket underneath it, and a painter to find.
Accessible is a word with a definition
In the trades, accessible does not mean "we could get there eventually". It means reaching the thing without wrecking the finish — lift a ceiling tile, open a door, back out a few screws. Cutting board and patching it afterward is not access. That is demolition with a tidy ending.
There is a stricter grade above it that inspectors use: readily accessible, which adds that you get there without moving or climbing anything first. A main shutoff behind a stack of storage bins is not readily accessible. Neither is a disconnect behind a bookcase somebody has to empty while water is running.
Which grade applies to which thing comes out of the code section governing that thing, and your building department settles it — not us, and not a blog. In Fishers that is Permitting & Inspections, 317-595-3120. One call before the drywall is ordered costs nothing. The same call afterward costs a ceiling.
The things that cannot be buried
The list barely moves from house to house.
Splices
Wire connections live in boxes, boxes take covers, and those covers stay reachable for the life of the building. A junction box drywalled over is one of the most common things we find when we open a basement somebody else finished — usually an abandoned ceiling light, or a circuit extended once and the splice left wherever the wire ran out. It also writes up easily at resale, because it is visible from the unfinished side and there is nothing to argue about.
The service panel, and the air in front of it
A panel needs a working space ahead of it: a defined width, a defined depth, and the height of it kept clear floor to ceiling. That space cannot quietly become the back of a closet or the wall a media cabinet sits against. If the finish plan puts a room where the panel is, the panel moves — a service change with the utility involved, not a small line on an estimate. Worth reading next to what a finished basement asks of the panel, because the two questions arrive together.
Anything you turn
The main water shutoff and the meter. Hose bib valves, the usual casualty of a new stud wall built tight to the foundation. Laundry boxes. Gas shutoffs at the appliances. The back of a shower valve upstairs, where one was set with rear access. Every one is something a person has to turn in a hurry, and most of them weep at the stem eventually.
Cleanouts
A cleanout is how a drain gets snaked without pulling a toilet or cutting pipe. There is usually one at the base of the stack, often one in the slab, and they are exactly the sort of low, unglamorous fitting that vanishes behind a new wall because nobody on site that week was thinking about a main line backing up. That is the only day it matters, and on that day the wall comes off.
Dampers, condensate and the equipment itself
Balancing dampers on branch ducts have to stay turnable, or you have built a basement with one warm room and one cold one and no way to trade between them. Zone dampers, condensate pumps and the secondary drain need service access. So does the filter slot, and so does the working clearance around the furnace and water heater, which the equipment nameplate sets and your floor plan does not. Framing around the mechanical room covers the air and clearance half of that, and it is worth settling before you choose between extending the ductwork and hanging a mini-split.
The sump, and the radon system
The sump lid has to lift. Pumps fail and check valves fail sooner, and a pit under finished flooring is a trapdoor cut into working equipment — the flooring loses that argument every time.
Radon is the one people bury without meaning to. Hamilton County carries an EPA Radon Zone of 1, the highest of three, so a great many basements here already have a sub-slab depressurization fan and a pipe running up through the house. That system has a manometer on it, a small U-tube of colored fluid, and reading it is the only way to know the fan is still pulling. Boarding over it does not stop the system working. It stops you knowing whether it works, which for a gas you cannot smell is the point. Radon is a Zone 1 problem here covers what finishing changes about it.
The joist bays hold the surprises
Walls are the obvious half. Ceilings catch people, because a basement ceiling is the underside of the floor above, and everything that floor does passes through those bays on the way somewhere else.
The tub trap and overflow for the upstairs bathroom is up there. So is the kitchen sink drain, the lines feeding both, the condensate off the air handler, and the pump for a jetted tub if the house has one. That pump is not a maybe — it is a motor, the manufacturer expects a service opening, and sooner or later it gets one. Better a panel you chose than a rectangle somebody saws at the moment of failure.
If a basement bathroom is in the plan, the same logic runs downward instead of up. An ejector pit has a sealed lid, a vent and a pump inside it, and none of that wants to sit under finished flooring with a sofa on top. One more reason a basement bathroom lives or dies on the rough-in.
The cheapest panel is the one you designed out
Before anyone specifies a panel, ask whether the thing can move instead. A junction box usually relocates into the mechanical room or the unfinished storage side. A shutoff extends to somewhere you would not mind looking at. A cleanout comes out to a utility wall. While the framing is open that is a length of pipe or wire and the labor to run it. After the board is up it is a panel, plus trim, plus paint, plus looking at it every evening.
Where things cannot move, group them. One opening over a cluster of valves beats four scattered ones, and it leaves a single seam to hide instead of four. Put those openings where the room is already utilitarian: the mechanical room, the storage side, under the stairs, the back of a closet, a removable cabinet back in a bar run. Access still has to work as access — nothing bolted across it, nothing so high it needs a ladder and a second person, nothing that means emptying a shelving unit first. A panel you cannot get to is decoration, which is one more argument for deciding early where the boxes and the bikes go instead of letting them fill what is left over. Keeping storage in a finished basement is the same planning problem in different clothes.
If the ceiling is the difficulty, the ceiling can be the answer. A suspended ceiling is one continuous access panel: every tile lifts. You pay in headroom and in how the room reads, and a hybrid is common — drywall over the main space where the bays are clean, grid over the run where the plumbing and ducts live. Drop ceiling or drywall lays that trade-off out.
From invisible to obvious
In photographs of finished work, ours included, you never see the panels. Not because they are absent — because the right kind was chosen for the room it landed in.
- Painted steel door with a cam latch. Cheap, tough, unmistakably a hatch. Correct in a mechanical room. Wrong in a family room ceiling.
- Drywall-inset panel. A frame that takes a cut piece of board, taped and painted with the rest of the wall. A faint seam in raking light, invisible otherwise. More labor to install, far less to look at.
- Frameless push-latch or magnetic panels. No visible hardware, no hinge, a push to release. Good in a ceiling, where a latch is what the eye finds.
- Gasketed and rated panels. Where the assembly is doing a job, the panel has to do that job too.
- Cabinetry. A removable cabinet back, a toe-kick panel, a bookcase section on cleats. The best-hidden access is already furniture, and it is often the cheapest of the lot when the cabinets were going in anyway.
The frame goes in before the board
Whichever panel gets chosen, its frame lands on framing and goes in with the rough-in, not after. One added later is a rectangle cut between whatever joists it fell between and screwed to whatever was there. It looks like it, permanently, and it is usually the wrong size for the job it exists to do — sized for a hand, when the work needs a hand, an elbow and a light.
Two other things get decided at that moment. The first is what the assembly is meant to do besides hold still. A panel in an insulated exterior basement wall interrupts the insulation and whatever air control layer sits behind it, and that detail has to be closed back up rather than left as a cold cavity behind a thin door — the same continuity argument that runs through framing a basement wall so it stays dry. A panel in a ceiling built to keep the theatre out of the bedroom above has to be gasketed, because sound and air both use holes.
The second is the label. Write on the inside of the door what is behind it. A strip of tape naming the valve, the circuit or the fixture means the next person does not open the other three first, and the next person is usually you, at night, in a hurry.
The pass to make before the drywall
All of this gets settled on one walk, with the framing and rough-ins in and nothing covered yet — the same walk as what to check the day before the drywall goes on. Bring a bright light and go bay by bay.
- Where is every junction box, and is any of them about to disappear?
- Where is every shutoff, meter and cleanout, and which finished room do they land in?
- Which dampers have to stay turnable once the ceiling closes?
- Does the service panel keep its clear working space in the finished layout?
- Does the sump lid still lift, and can the manometer be read standing up?
- Which of these could move now, instead of earning a panel forever?
Then photograph every wall and every bay before the insulation goes in. Photos are the second-best access panel there is. They will not get you to the pipe, but they tell you which side of the room to open.
What this does and does not cost
We do not publish our own prices, for the reason we give everywhere else: a number written before anyone has seen your basement is a guess. What we can point at is what independent research says people in this market spend. Published Indianapolis basement finishing research, Angi included, puts finishing at roughly $25–$65 per square foot — about $25,000–$65,000 for a 1,000 square foot basement.
Almost none of that spread is access panels. The number moves on water, ceiling height, egress, whether there is a bathroom, and what the electrical needs. Panels are a rounding error in material and a small line in labor — a planning item, not a budget item. What they decide is whether the finished ceiling survives its first service call.
The short version
Make the list before the drywall, not after. Anything that splices, shuts off, drains, pumps, or has to be turned or read stays reachable. Move what can move while the walls are open. Group what cannot. Put the opening where the room is already utilitarian, and gasket it where the assembly is doing a job. It takes one careful pass at the right moment and is close to unfixable at the wrong one, which is why on a basement finishing job we treat it alongside the water and the ceiling height, not as a detail left to whoever hangs the board.
If you are planning one and want someone to walk the joist bays with you before anything gets covered, ask for an estimate.
