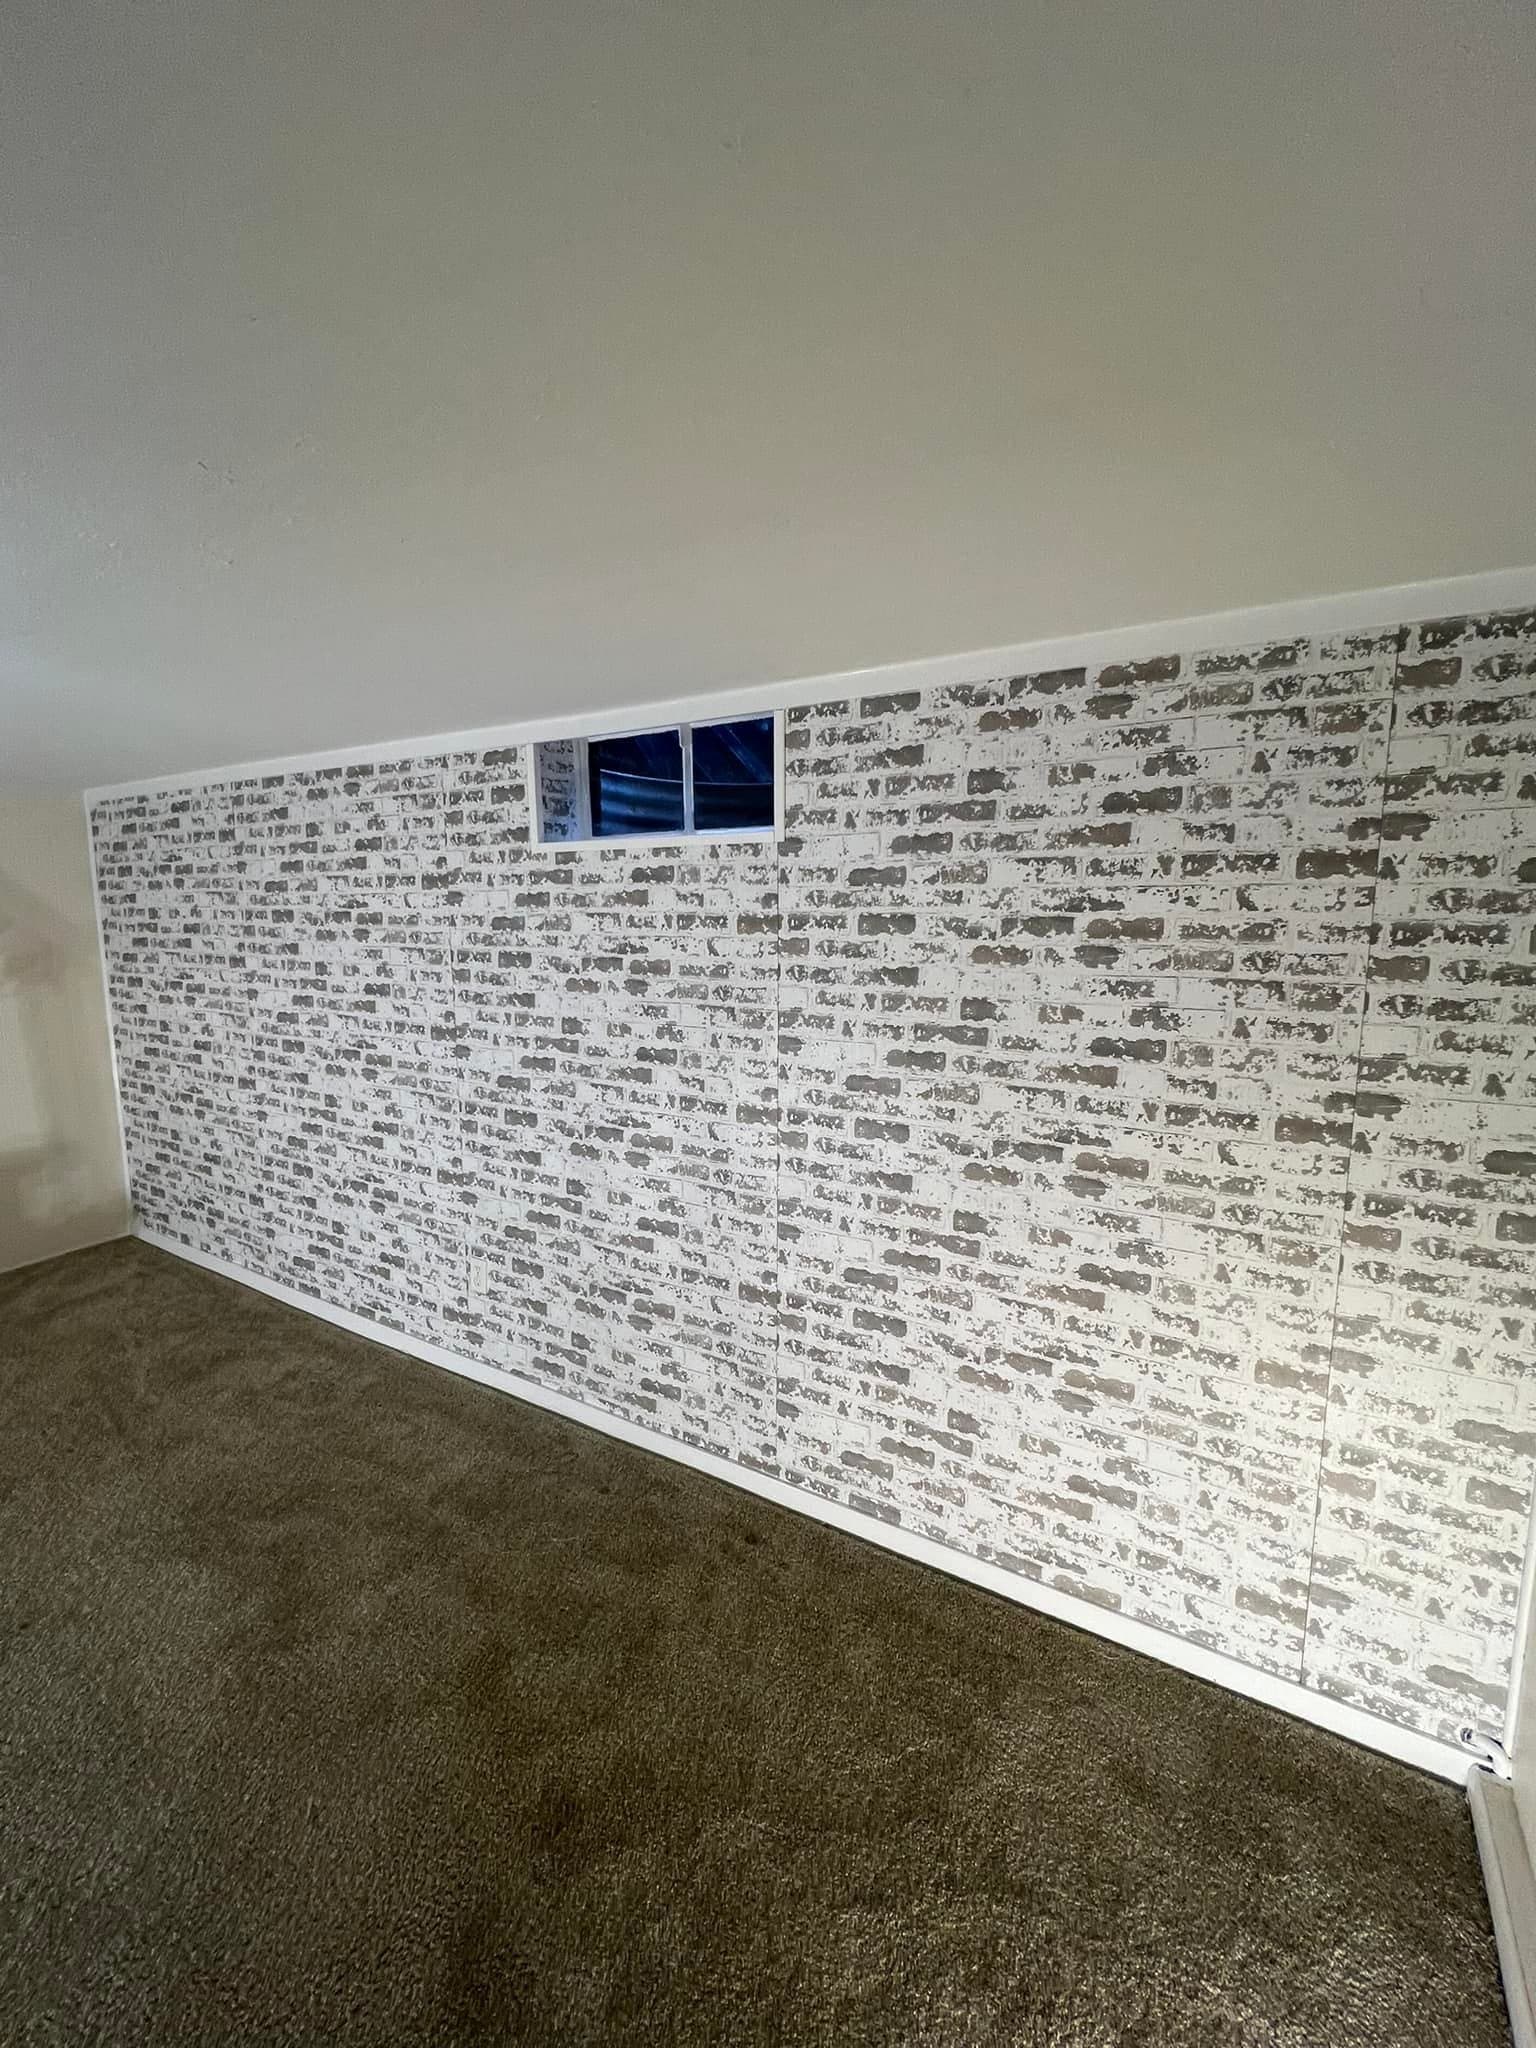
Most finished basements around here are built with an above-grade wall, underground. Studs stood up against the concrete, fiberglass batts pushed between them, a plastic sheet stapled across the face, drywall over that. It is the same assembly that works perfectly well on the second floor of the same house. Below grade it is a moisture trap, and it is a slow one — it looks and smells fine for a couple of years, then the room starts to smell like a basement again and nobody can say why.
The wall is not the problem. The order is.
The wall you are framing against
Whether it is poured concrete or block, a foundation wall is porous. It moves liquid water by capillary action — ground moisture drawn through the wall and delivered to the inside face continuously, in quantities too small to see. An unfinished basement copes by evaporating it into the room, which is what that musty smell actually is. Finish the basement and you have covered over the only escape route the wall had.
Then there is temperature. The earth against that wall stays cool through an Indiana summer while the air inside the house is warm and carrying a lot of moisture. Warm humid air touching a cool surface makes liquid water. That is the entire mechanism — a glass of iced tea on a July porch, except it happens inside a stud bay nobody will look at until the drywall comes off.
Winter runs the other way, and only near the top. The upper wall and the floor framing above it are exposed to outdoor air, so they get properly cold while warm room air leaks up and condenses on them.
So a below-grade wall has to do three things at once. Keep humid room air off the concrete. Keep the concrete face warm enough that nothing condenses on it. And let anything that does get damp dry towards the room, because it cannot dry in the other direction. Ever.
Why the standard assembly fails
Fiberglass does not stop air
Fiberglass slows heat. It does nothing to air, which passes straight through it — a batt is a filter, not a barrier. Humid room air moves through the batt, reaches the cold concrete, and condenses there. The batt then holds that water against the wall instead of letting it evaporate, the kraft facing and the settled dust give mold something to eat, and the insulation stops working because wet insulation does not insulate.
You can see the evidence when a wall comes open. The batts are gray and matted at the bottom, the paper facing is tide-marked, and the studs are darkest at the plate.
The plastic sheet makes it worse
A poly vapor barrier on the room side is correct in a heating-dominated wall above grade, where the drive is outward all winter. Below grade the drive reverses across the year, and in summer it runs inward. Now the plastic is the cold, impermeable surface facing the wrong way, and water collects on the room side of it.
There is no clever way to pick the right side, because there is no right side. The answer is not a better vapor barrier. It is removing the condensing surface — insulation against the concrete, so there is no cold face left for anything to land on.
The order that works
- Fix the water first. Insulation cannot outrun a leak, a failed grade, or a downspout dumping against the foundation.
- Insulation goes directly against the concrete, continuous, with the seams sealed.
- The stud wall is framed in front of that, tight to it, with no air gap behind.
- No interior vapor barrier. Kraft-faced batts in the stud bays count as one, so if you are adding cavity insulation, it goes in unfaced.
- A thermal barrier over the foam, because foam plastic cannot be left exposed in a finished room. Drywall is the usual one.
That first step is the one that gets skipped, and it is the one that decides everything. Staining, efflorescence, a hairline crack that weeps in March, a cold joint at the footing — these are readable before anything is built, and reading a basement for water is a separate job from insulating it. We do that part before we quote framing, not after.
Rigid foam board
Extruded and expanded polystyrene both work against concrete. XPS gives more resistance per unit of thickness; EPS is more permeable, which means the assembly dries inward a little faster if it ever needs to. Boards go on with adhesive or fasteners, seams and edges taped, and the taped board is then the air barrier and the vapor retarder in one.
Polyiso is the one to be careful with here. Its facers and core do not enjoy standing water, and the base of a foundation wall is exactly where standing water shows up. If it is used at all, it does not belong against the concrete.
Closed-cell spray foam
Sprayed foam is seamless, sticks to a wall that is nowhere near flat, air-seals in the same pass and does the rim joist while it is there. It is the most forgiving system for an ugly foundation.
The honest catch is that it is permanent. Once the wall is sprayed you will never see that concrete again without demolition, which is another reason the water question has to be settled first. It also costs more, and it wants specific conditions on the day — temperature, ventilation, and a crew who does this rather than a crew who bought a kit.
The bottom plate and the slab
Concrete wicks, and wood sitting on concrete wicks with it. The bottom plate either has to be pressure-treated or has to sit on a capillary break — a sill gasket or a strip of foam between the lumber and the slab. It costs almost nothing at framing and it is unfixable later.
Hold the drywall off the slab as well, and let the base trim cover the gap. If that floor ever takes water from a failed sump, the difference between a mop and a demolition is whether the gypsum was touching concrete. The same logic governs what goes down on top of the slab: what survives over concrete is not the list that survives upstairs.
The rim joist is where the heat actually leaves
The band of framing sitting on top of the foundation wall, carrying the floor above, is the largest air leak in most basements and the coldest surface in the whole assembly. It is also, almost always, treated by stuffing a fiberglass batt into each bay — a filter placed over a hole, again.
It gets closed-cell foam or carefully cut rigid board sealed at every edge, while the bays are still open and reachable. Once the ceiling framing, the ducts and the wiring are in, the rim becomes the thing that gets left.
If your basement is cold along one particular wall in February, this is usually why, not the insulation on the wall below it.
Framing to a string, not to the wall
Foundation walls are not flat and they are not plumb. Block walls bow. Poured walls carry form seams, snap-tie dimples and a bulge wherever the pour ran hot. Frame tight to the wall and the finished room inherits every one of those defects, in drywall, where they are lit from the side by every lamp you own.
So the wall gets set to a string line and the foam behind it gets shimmed, not the other way round. That is why basement framing takes longer than the square footage suggests, and why a quote that treats basement walls like a garage partition is priced off the wrong drawing.
It also costs floor space. Insulation plus framing plus drywall comes off every exterior dimension in the room, which matters at door swings, at a stair landing, and at a window. If there is an egress window in the plan, the jamb has to be returned through the whole build-out, and the opening still has to make its net clear opening afterwards, not before. The build-out is part of the egress calculation, not a detail applied to it later.
The dimension to check overhead is the same kind of problem. Ducts and beams set the ceiling, and moving a trunk line is a decision to make with the walls still on paper.
What has to pass through the wall
Because the insulation is against the concrete and the framing sits in front of it, the stud bays are free. Boxes, wiring and low-voltage runs live in the framing and never cut into the foam. That is a quiet advantage of this order, and worth protecting — every penetration through the foam is a hole in the air barrier somebody has to seal by hand.
Two things deserve deciding early. Water lines do not belong on the cold side of an exterior basement wall, so a bar sink or a bathroom on an outside wall needs its supply kept to the warm side of the insulation. And if a radon system is coming, its route needs settling before the walls go up. Hamilton County carries an EPA Radon Zone of 1, the highest of the three, so a sub-slab system is a normal part of finishing here rather than an exotic add-on — and the riser has to get from the slab to the roof through the house you are about to close in.
Get it looked at while you can still see it
Framing, electrical rough-in and insulation are inspected before they are covered. That is the only window in the project when the parts deciding whether the room stays dry are visible to anyone. Once drywall is hung, every claim about what is behind it is one you take on trust.
Basement work in Fishers generally needs a permit, and what triggers one is worth knowing before the schedule is built around it. On our own jobs the wall assembly is a stage in the scope with its own sign-off, before finish material is ordered, for the same reason we photograph what we cover.
What it costs, and where it goes
We do not publish our own numbers. What independent research says people in this market spend on basement finishing is roughly $25 to $65 per square foot, which puts a 1,000 square foot basement somewhere around $25,000 to $65,000 depending on what goes in it.
Insulation and framing are a modest slice of that in material and a real slice in labor, and they buy nothing you can photograph. The finished basements we show all look like the walls were the easy part. They were not. They are the stage that decides whether the room reads as part of the house or as a nice basement.
The short version
A finished basement wall works when the insulation touches the concrete, the framing stands in front of it, nothing plastic goes on the room side, and the water question was answered before any of it started. It fails when an upstairs wall gets built downstairs.
If you are pricing a basement and the estimate says "frame and insulate" with one number beside it, ask what goes against the concrete, how the rim joist is treated, and what sits under the bottom plate. The answers tell you a great deal about the rest of the quote.
We walk basements before we put a number on them — that is what the basement finishing work starts with, every time. If you want yours looked at, ask for an estimate and we will read the walls with you.
