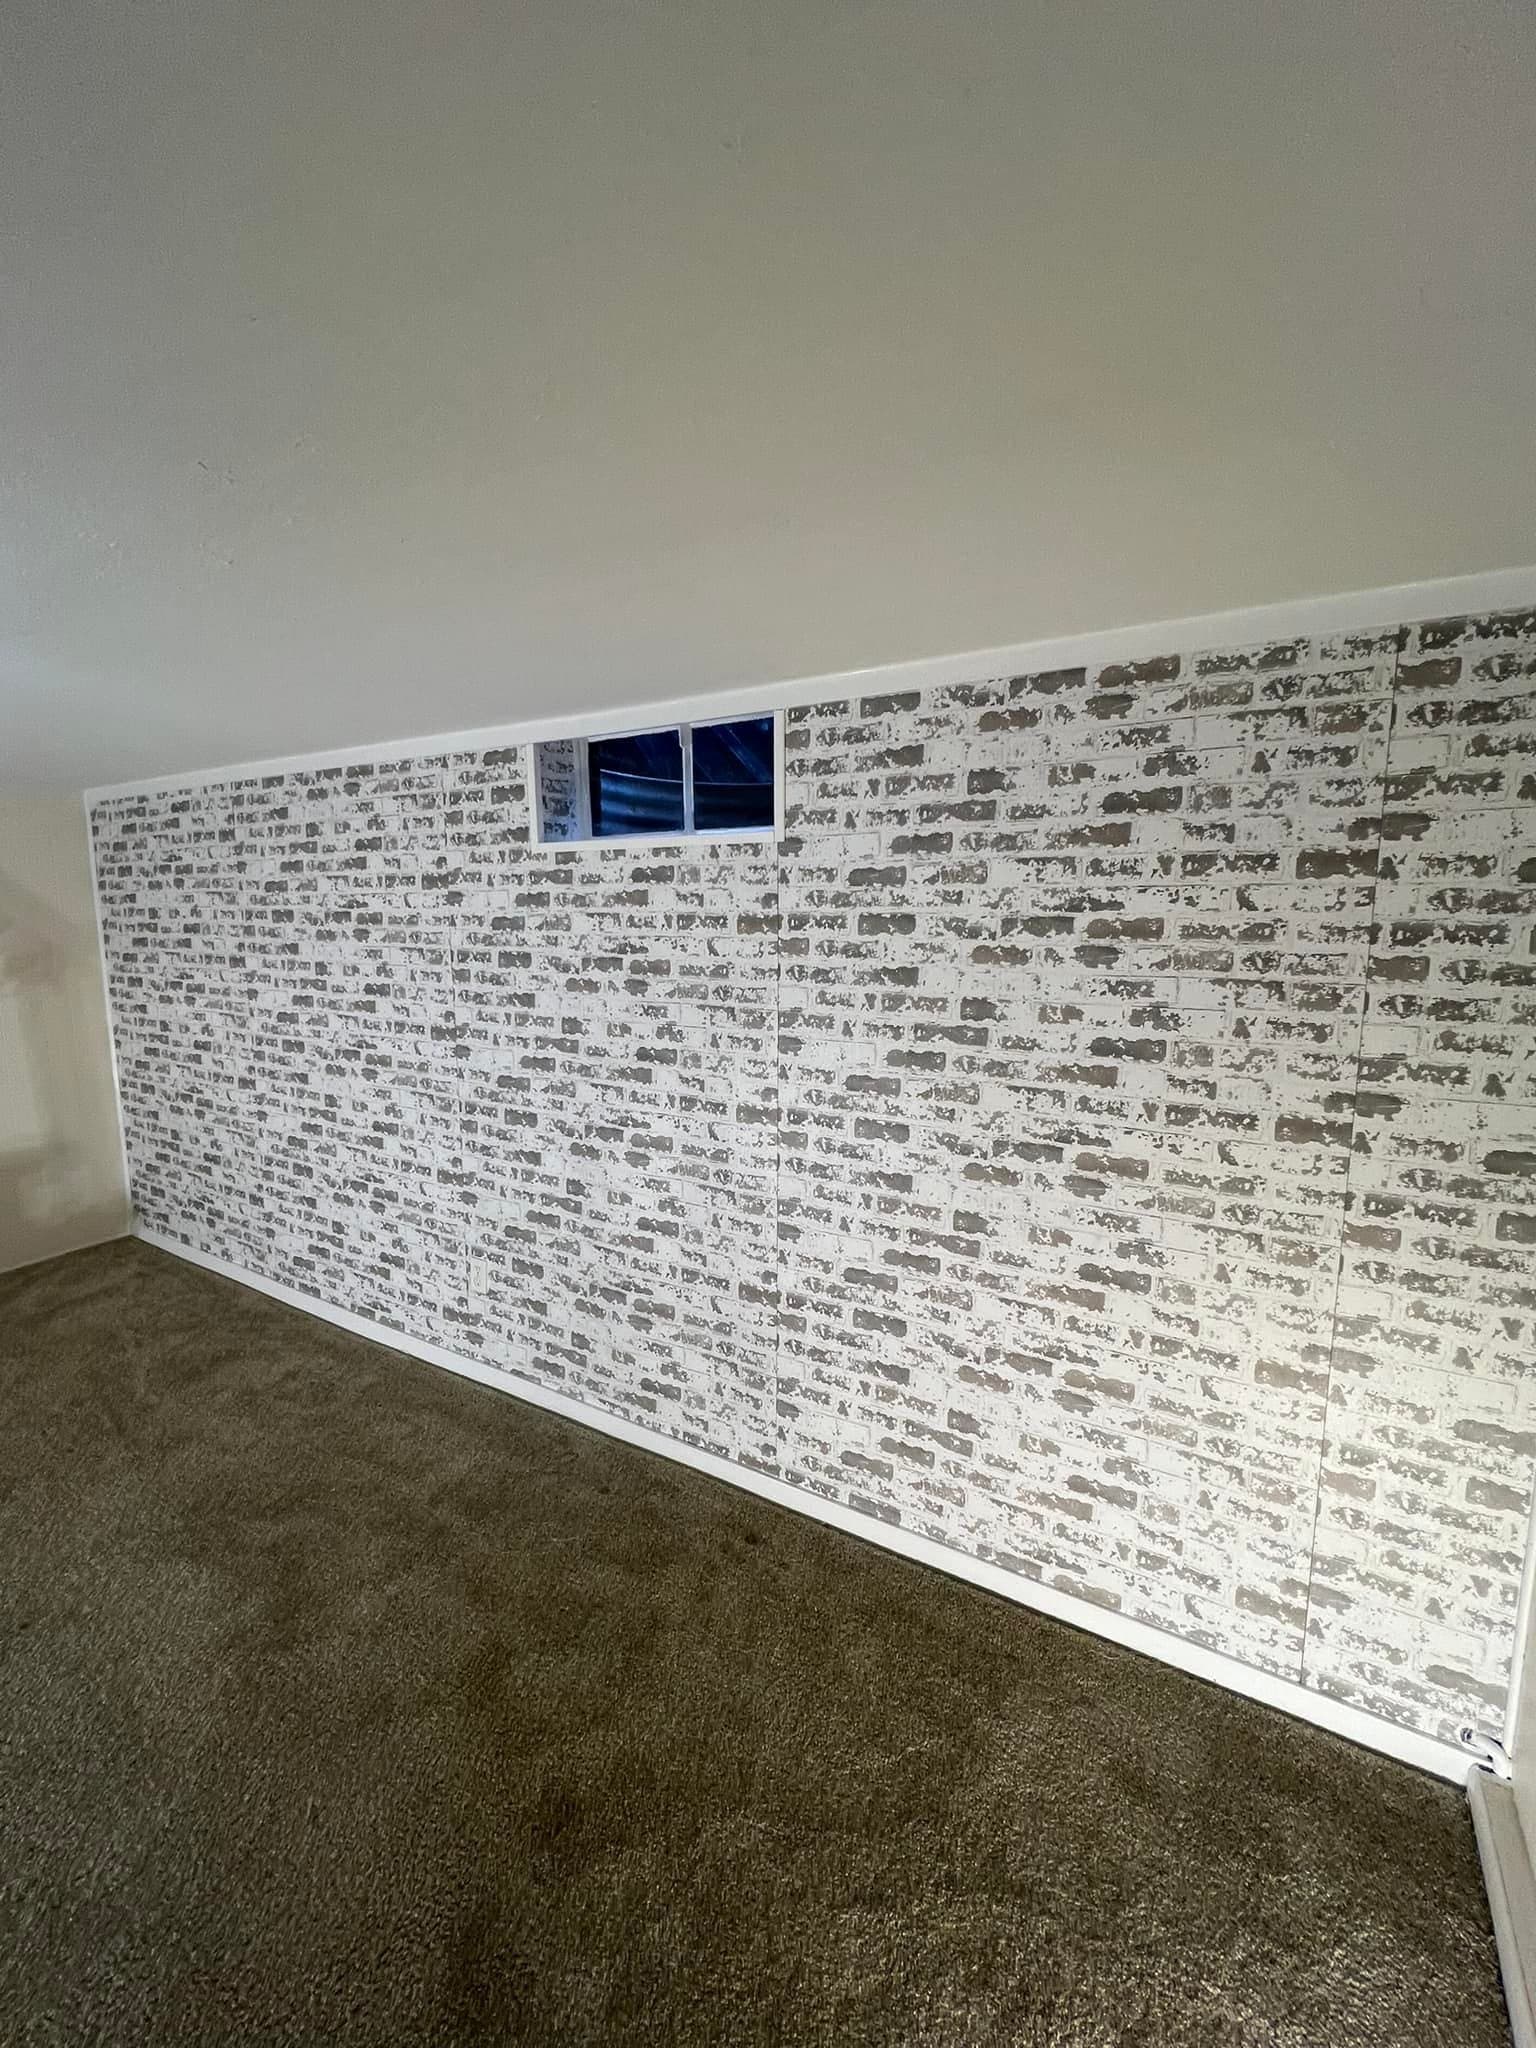
A basement that is dry in August is not a dry basement. It is a basement you have not watched work yet. Water arrives down here on a schedule — a February thaw over ground still frozen underneath, a June storm faster than the gutters can move it, the first wet spring after somebody regrades next door. If nobody has stood on that slab during one of those, a dry floor today tells you very little.
That matters because framing is a lid. Once a stud wall goes up against the foundation, with insulation behind it and drywall over that, you lose the ability to read the wall. The damp line, the chalky bloom, the dark ring at the base of the block — all of it goes behind a finished surface, and the next news you get is a smell, or a soft baseboard, or a plank that lifts in April.
So we look before we draw anything. Not because we expect water, but because looking is cheap and not looking costs the room.
The wall keeps records
You do not need rain on the day. A foundation wall writes down what has happened to it, and the handwriting is consistent.
Efflorescence is the main one — a white, chalky, sometimes crystalline bloom on block or poured concrete. It is not mold. It is mineral salt left behind when water moved through the masonry and evaporated on the room side — a receipt for water that has already been there. Where it sits matters more than that it exists. High on the wall, near grade, and you are usually looking at surface water getting in above the footing. Low, in a band where the wall meets the floor, and the water is coming up from below.
The rest of the file reads quickly. Rust-colored streaks below form-tie holes in a poured wall. Parge coat blistered or flaked off in sheets. Paint peeling in dinner-plate patches, which is what a coating does when it is being pushed off from behind. Darkened bottom plates on existing framing. Block that sounds different low on the wall than high, because the cores are holding water.
And cracks, which are two different conversations. A thin vertical or diagonal crack in a poured wall is usually shrinkage, and usually a water question — it can be injected. A horizontal crack along a block wall, especially with any inward bow above it, is lateral soil pressure. That is an engineer's question, not a finishing question, and we will say so and stop rather than cover it up.
Seepage, condensation, or a leak that has nothing to do with the foundation
Three problems look identical from the doorway. They have nothing in common in the fix.
Seepage is soil water finding a path through the wall or the joint. It is seasonal, it follows weather, and it appears in the same place every time.
Condensation is humid room air meeting a cold surface. Concrete below grade sits at ground temperature all summer, and Central Indiana summers supply plenty of moisture for it to work with. The wall gets wet from the inside. It looks like a leak. It is a humidity problem.
A plumbing or appliance failure is the one everybody forgets. A condensate line off the air handler, a water heater with a pan that goes nowhere, a supply line sweating in a joist bay. Clean, local, present in a dry spell, no seasonality. Rule it out before you blame the foundation.
How to tell seepage and condensation apart
Tape a square of clear plastic sheet tightly to the wall, and another to the slab. Seal the edges — the point is that no room air can get under it. Leave it a few days, through a normal week of using the house, then look.
Droplets on the room side mean air is condensing on a cold surface: a humidity problem. Droplets on the concrete side, or concrete gone dark under the sheet while the wall around it stayed pale, mean moisture is arriving from the soil: a water problem. Both at once is common, and worth knowing, because they get solved by different trades in a different order.
This is why the wall assembly is not a matter of preference. Framing and insulating a wall that is actively wetting from outside does not stop the water — it moves the dew point somewhere you cannot see and gives the moisture a paper-faced surface to land on. What belongs against basement concrete, and in what order, is a drying question before it is a warmth question.
Where it actually gets in
The middle of a wall is rarely the problem. Water uses joints and holes, and the list is short enough to walk in one visit.
- The cove joint, where the wall meets the footing and the slab meets the wall. The slab was poured after the walls and never bonded to them. Under pressure that seam gives first.
- Block cores, filling from above and releasing low.
- Form-tie holes and cold joints in a poured wall, where the pour stopped and restarted.
- Window wells, the most common source we find. A well with no gravel, no drain and a season of leaves in it stops being a well and becomes a bucket held against a window. A stairwell drain at a walk-out fails the same way. What a well needs to actually drain is its own detail.
- The sump pit, when there is no pump in it, no check valve on the line, or a discharge that empties beside the wall and sends the same water round again.
- The slab itself, as vapor rather than liquid, which is its own problem.
It is worth knowing what sits outside those walls. Footings here go below the frost line, and Central Indiana practice is commonly somewhere in the range of 30 to 36 inches — the local building department sets that depth, not a rule of thumb. The perimeter drain, where one exists, sits beside that footing. So the system meant to protect you is deeper than any shovel you own, and may have been crushed or silted shut decades ago. Nobody can say it works by looking at the wall. What you can see is whether it is being overwhelmed.
Winter adds its own reading. Soil expands against the base of a below-grade wall through every freeze and thaw, and that cycle opens hairline cracks that were fine in October.
The slab is a separate question
Concrete is not a vapor barrier. Moisture moves up through a slab continuously, and on older houses around Fishers, Noblesville and Geist there is often no vapor retarder under it at all, because putting one down was not standard practice when the slab was poured.
A slab can look bone dry and still push enough vapor to destroy a glue-down floor: adhesive that never quite sets, planks that cup along one edge, tile that releases in the middle of the room for no apparent reason. It is why a moisture reading is worth taking before anyone picks a product, and why what you can put down over concrete is decided by the slab and not the showroom.
Efflorescence on the floor — a white ring at the edges, a stripe running out from a crack — is the same receipt. Liquid water came through there.
Fix the outside first, and in this order
Most wet basements here are not foundation failures. They are roof and yard water put down next to a wall and left to find their own way. In rough order:
- Gutters and downspouts. Follow every one to where it ends. A downspout emptying onto a splash block delivers a roof's worth of water straight to the footing. Extend it well out, or pipe it underground.
- Grading. The soil should fall away from the house, and often no longer does — mulch beds topped up until the bed sits higher than the sill, patios settled back toward the foundation, a fence line that dammed the runoff.
- Window wells and stairwells. Gravel, a working drain, a cover, no leaf litter.
- The sump. A pump that runs, a check valve, a sealed lid, a discharge that goes somewhere other than back into the same soil.
- Irrigation. Heads that spray the foundation on a timer all summer.
Only after that does interior work make sense. Interior drain tile, a sealed cove joint and a proper pit are real fixes and sometimes necessary. They are not the first thing to buy. Anyone who leads with the expensive interior system before looking at your downspouts is selling a product, not solving a problem.
The one thing we will not do is paint the inside of a wall that is under pressure and call it waterproofed. That coating fails from behind, and while it lasts it hides the very evidence you would need to read.
Radon comes in through the same doors
Hamilton County carries an EPA radon zone of 1, the highest of three, meaning the predicted average indoor screening level is greater than 4 pCi/L. The EPA action level is 4 pCi/L or higher, and it suggests considering a fix between 2 and 4 pCi/L.
Soil gas uses the same openings as water: the cove joint, slab cracks, an open sump pit. Sealing those for moisture changes the air path too, and finishing a basement — conditioning it, putting people in it for hours at a time — changes what a reading means. Testing before and after is the sane order, and sub-slab depressurization is the standard remedy.
How water shows up on an estimate
If we find moisture, it is the first line on the estimate, ahead of framing. Sometimes that is small — gutter and grading work by somebody else, done before we start. Sometimes it is an interior system and a pit, and it is a real number. Either way it gets priced before a stud goes up, because water found after the drywall is hung is no longer a repair. It is a demolition and then a repair, which is the most expensive kind of change order there is.
For the finishing work itself, what independent research says people spend in this market is roughly $25 to $65 per square foot — about $25,000 to $65,000 for a 1,000 square foot basement, with a basic finish around $25,000 to $35,000 and a mid-range job including a bathroom around $35,000 to $50,000. That comes from published Indianapolis basement finishing research including Angi, and moisture remediation generally sits outside it.
What to do before anyone frames
If you are getting quotes, do these in whatever order the weather allows.
- Go down during the next heavy rain, and again during the first real thaw, and look at the base of every wall.
- Tape plastic to the wall and to the slab, and leave it.
- Walk the outside and follow every downspout to where it ends.
- Look in the window wells and in the sump pit.
- Photograph anything white, anything dark, and any crack, to show whoever quotes the job.
Then ask every contractor who walks it what they found, and what they intend to do about it before framing. A quote that prices studs and drywall without mentioning the wall behind them was written from a tape measure, not an inspection — the same gap that makes the cheapest quote the incomplete one.
Everything else down there is negotiable. Layout, ceiling height, whether the bar goes on the long wall — all preference. Dry is not a preference. It is the condition that has to be true before the rest of a finished basement is worth building.
If you want someone to read yours first, ask us to come and look. We will tell you what the wall says, even when it is not what you hoped to hear.
