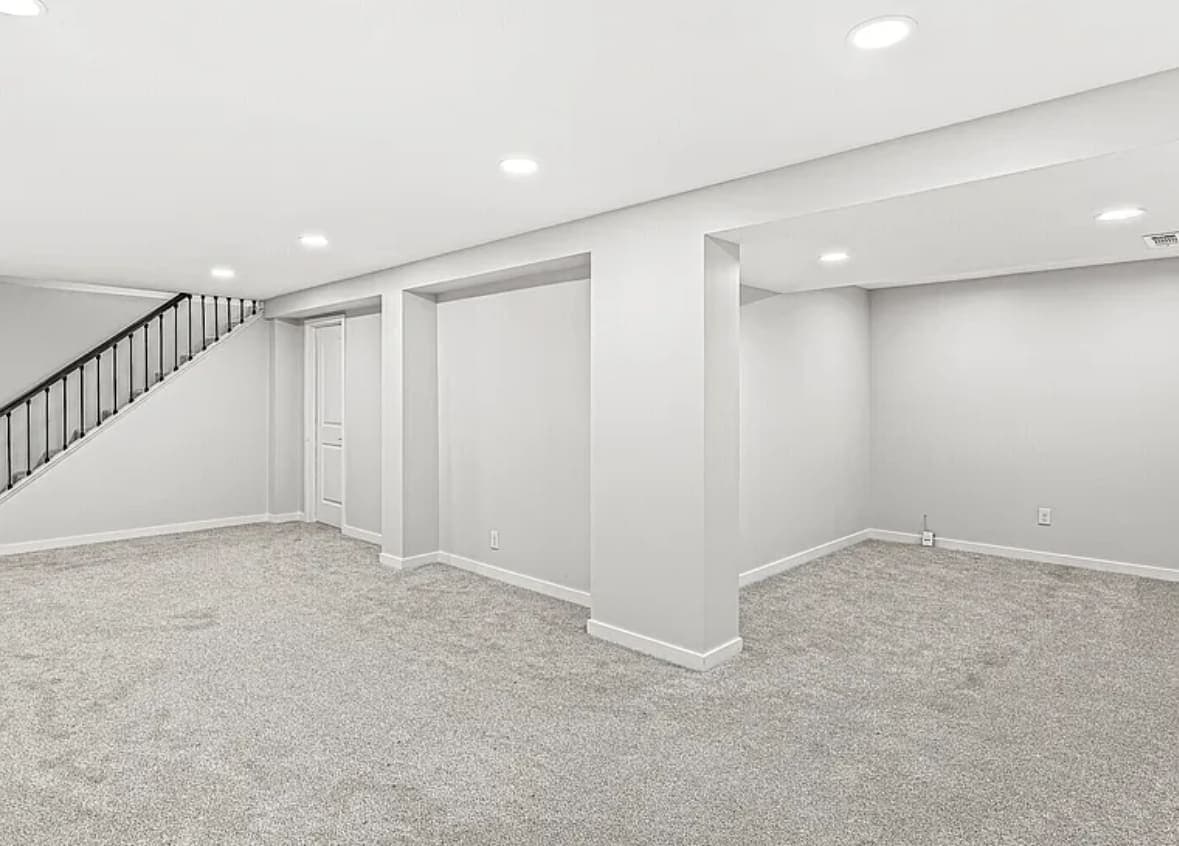
You came down after a hard rain and the floor is wet. A dark stripe along the base of one wall, a patch out in the middle of the slab, or a damp sheen across the whole floor that was not there on Tuesday.
From the doorway those look identical, and by the time you are standing over it the water has spread away from wherever it came in. Where the wet starts is most of the diagnosis, and it is the first thing to disappear.
There are three ordinary causes and they are not variations on each other. Surface water getting in at the joint where the wall meets the slab. Groundwater under pressure pushing up through the slab, a cold joint or a crack. Condensation, which is not seepage at all and gets worse if you do the instinctive thing and open the windows. Each has a test you can run standing there in your socks.
Mark it before it dries
The first instinct is to mop. Do that second.
Photograph it with the time on it. Run a line of painter's tape or a chalk mark around the edge of the wet area, and note whether the rain has stopped and when. Then dry the floor with a fan and watch where it comes back first. That tells you more than a moisture meter will.
Three questions to answer while you are down there:
- Where does the wet begin? At the wall-floor joint, out in the field of the slab, or on every cool surface at once.
- When did it begin, relative to the storm? As the rain fell, well after it stopped, or on no schedule the weather explains.
- How fast does it come back? Almost immediately, over the following days, or only when the air is warm and heavy.
Cause one: surface water at the cove joint
The slab was poured after the foundation walls and never bonded to them. That seam is the cove joint, it runs the whole perimeter of the basement, and it is the lowest-resistance path into the room.
Surface water is roof and yard water that never got away from the house. A downspout dumping onto a splash block. A mulch bed topped up over the years until it slopes back toward the foundation. A window well with no working drain and a season of leaves in it. That water runs down the loose backfill beside the wall, stands against the footing, and comes through the joint.
How you tell
The wet starts as a line, not a puddle. Follow it and it hugs the base of the wall for a stretch, then stops — one wall, one corner, one bay under a specific window. Dry a foot of that joint with a rag and press a folded paper towel into it. The towel darkens from its bottom edge up while the slab a step away stays dry.
The timing tracks the storm. It appears while the rain is falling, stops advancing when the rain does, and the floor dries out fairly quickly afterward.
If you can stand to do it, put a coat on and go outside while it is actually raining. It is the most useful thing available to you and almost nobody does it. Watch where each downspout discharges, watch for a gutter overflowing at a seam or a valley, and look into every window well to see whether it is holding water like a bucket. White chalky bloom high on the block inside is efflorescence, a receipt for water that already passed through above the footing — what the rest of the wall is saying is a reading job of its own.
Whose job it is
Partly yours. Clearing gutters, extending downspouts well out from the house, pulling mulch back down off the sill, digging a window well out and covering it — that is a Saturday, and it is the cheapest fix a wet basement has.
Regrading the yard is not a Saturday. Neither is a buried line taking the downspouts out to daylight, or rebuilding a well with gravel and a drain tied to something that works. That is a landscape or drainage contractor. Their trade, not ours.
Cause two: groundwater coming up through the slab
This one is different in kind. It is not water running down beside the wall — it is the water table rising under the house until it has pressure behind it, and concrete is no barrier to water under pressure. It comes up at whatever opening is nearest: a shrinkage crack, the cold joint where one pour met the next, the gap around a floor drain, the cove joint from underneath rather than from the side.
How you tell
The wet is low and central rather than at the perimeter. Look for a damp patch in the field of the slab with no wall near it, or a crack you have walked over for years that is now darker along its length than the concrete either side of it. Often a mineral stripe runs out from the crack.
The timing lags, and that is the giveaway. Groundwater does not arrive with the storm. It arrives well after the rain stopped, sometimes the following day, and it keeps going once the sky has cleared, because the soil is still draining toward your footings. Wet during the rain and dry soon after is cause one. Wet after the rain and still wet for days is cause two.
The sump pit is a gauge. Take the lid off during a wet week and watch it. Water standing in the pit and a pump cycling on a rhythm means the table is up around the level of the slab, and every crack in it is under a head of water. Spring is worst here, when a thaw runs over ground still frozen underneath — which is also when the soil around the wall is moving.
Whose job it is
Not yours, and not a coating. Sealing a slab that is passing water under pressure does not stop it. The coating fails from behind and takes the evidence with it.
The real repairs are a waterproofing scope: injection of a crack, an interior drain tile trench cut into the perimeter of the slab and piped to a sealed pit with a check valve, sometimes exterior excavation to the footing. Footings here sit below the frost line, and Central Indiana practice is commonly somewhere in the range of 30 to 36 inches, with the local building department setting that depth rather than any rule of thumb. The exterior drain meant to protect you sits beside that footing, deeper than any shovel you own, and may have been silted shut for decades.
Separate one thing out. A horizontal crack along a block wall, especially with any inward bow above it, is soil pressure, not a water detail. That is a structural engineer's question and a foundation contractor's work, and we will say so and stop rather than frame over it.
Cause three: condensation on a cool slab
Below-grade concrete sits at ground temperature all summer, and Central Indiana air in June carries plenty of moisture. Move that air across a surface below its dew point and the moisture leaves the air and lands on the concrete. The floor is wet. Nothing leaked.
How you tell
The pattern is wrong for a leak. Condensation appears broadly instead of starting somewhere — a film across open floor, heaviest where the slab is coolest and the air is stillest. Then look at the other cold things down there. Beads on the cold water line. A ring of damp under a plastic tote that has sat in one spot since spring. A metal shelf leg with a wet foot. Cardboard gone soft on the bottom. A leak does not do that; humid air does it to everything at once. And the timing owes nothing to the storm — a still July week with no rain in it is worse than a February downpour.
The taped-plastic patch test
This is the test that settles it, and it costs a roll of tape.
Tape a square of clear plastic sheet flat to the slab, all four edges down hard, so no room air can get underneath. That seal is the whole test. Put a second square on the foundation wall. Leave both through several days of ordinary use, then look.
- Droplets on the room side: air condensing on a cold surface. A humidity problem.
- Droplets on the concrete side, or concrete gone dark under the sheet while the slab around it stayed pale: moisture arriving through the concrete. A water problem.
- Both, on different squares in different parts of the room. Common, and solved by different people in a different order.
Seepage in spring and condensation in July is an ordinary pairing, and treating only the one you noticed leaves you convinced the fix failed. Run the test in more than one place, and mark the wet edge more than once, in different weather.
Whose job it is
Mostly manageable. A dehumidifier sized for the space, running continuously and draining somewhere permanent rather than into a bucket you have to remember — the drain is the part that gets skipped. A sealed sump lid. And do not open the windows: pulling warm humid air into a cool basement pours the problem in through the opening you opened to fix it.
Rule out the boring answers too. A condensate line off the air handler that has come adrift. A water heater in a pan that drains nowhere. A supply line sweating in a joist bay and dripping onto the slab in a neat circle. Clean water, no seasonality, present in a dry spell. That is a plumber, and a better outcome than the alternatives.
What we do not do, and what we will not frame over
We are not a waterproofing company, a drainage contractor, a foundation contractor or a plumber. We do not sell interior drain tile, and we do not paint the inside of a wall that is under pressure and call it fixed.
We also do not test for, identify or remove mold, and we do not test or mitigate for radon. If something is growing on what is down there, that is a question for someone who tests, and what has to happen before framing is worth reading first. On radon, the fact that matters here is that soil gas uses the same openings as water — the cove joint, a slab crack, an open pit. Hamilton County carries an EPA radon zone of 1, the highest of three, meaning a predicted average indoor screening level greater than 4 pCi/L, and the EPA action level is 4 pCi/L or higher. Test rather than guess. The Indiana State radon office is 1-800-272-9723, and what finishing the space changes is its own conversation.
Our stake is the sequence. Framing is a lid. Once a stud wall goes up against that foundation with insulation behind it, the damp line and the efflorescence go behind drywall, and the next news you get is a smell or a soft baseboard. What belongs against basement concrete, in what order, is a drying question before it is a warmth question. If we find water, it is the first line on the estimate, ahead of framing.
Sometimes it has to be opened up to know
Be suspicious of anyone who diagnoses this from the top of the stairs, including us. On a bare slab the tests above usually land. In a basement already part-finished — panelling on the walls, carpet and tack strip at the perimeter, a bottom plate nobody can see — there is no way to read the joint without cutting an inspection opening at the base of the wall and looking. That is not a cop-out. It is cheaper than learning after the flooring is down that the slab was never dry.
What to do next
In order. Only the last one costs money.
- Photograph and mark the wet edge before you dry it, with the time.
- Go outside during the next real rain and follow the water.
- Tape plastic to the slab and to the wall, and leave it.
- Watch the sump pit through a wet week.
- Call the trade the evidence points at — drainage, waterproofing, foundation or plumbing — and have that work done first.
Only then is it worth drawing a room. Dry is not a preference like ceiling height or which wall the bar goes on. It is the condition that has to be true before finishing the basement is worth spending anything on.
If you want someone to walk it with you and say plainly what the floor is doing, ask us to come and look. We will tell you what we see, including when it belongs to somebody else.
