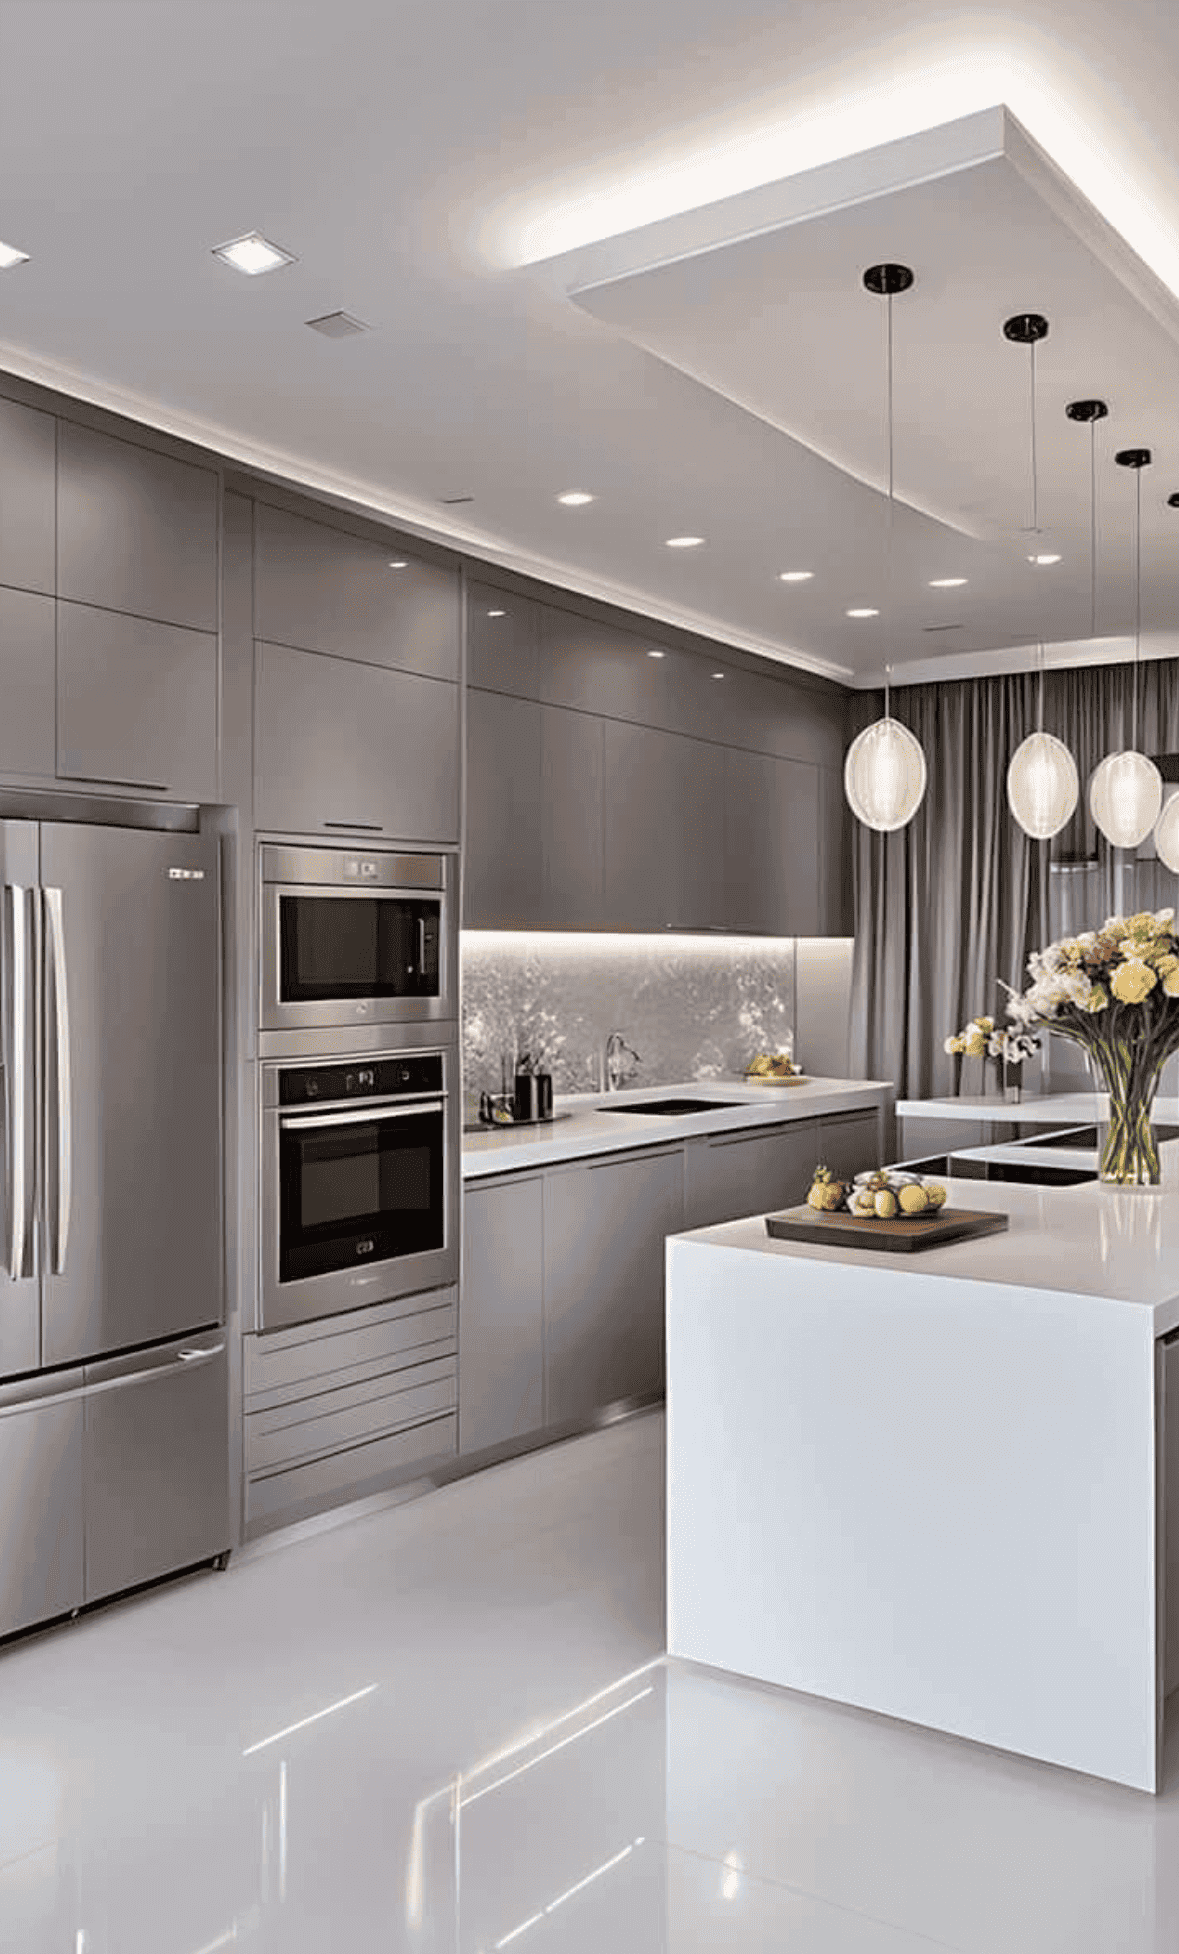
Stand at your counter with the ceiling lights on and look down at the cutting board. You are working in your own shadow. The light is behind you, your shoulders are between it and the board, and adding brighter cans overhead does not fix it — it just makes a crisper shadow. That is the entire reason under-cabinet light exists. It is not mood and it is not decoration. It puts light on the work surface from a position your body cannot block.
Which is why the question people spend the most time on — tape or pucks — is not the one that decides whether the finished kitchen works. Where the fixture lands on the underside of the cabinet matters more. A modest strip mounted in the right place beats an expensive one mounted in the wrong place, and we have taken out plenty of the second kind.
What under-cabinet light is actually for
It is task light, and task light has one job: land on the horizontal surface where your hands are. Everything else in a kitchen lighting plan does something different. The ceiling layer fills the room so it does not read as a cave. Pendants over an island are as much furniture as fixture. Accent light inside a glass cabinet is there to be looked at. Under-cabinet light is the only layer that exists purely so you can see what you are chopping.
That distinction settles most arguments about product. You are not buying an effect. You are buying an even, glare-free wash across a working surface, and every choice below gets judged against that. How the layers stack is in kitchen lighting in layers; this is the one that gets specified badly most often.
Tape and pucks put light in different places
Both are LED now. Both go under the same cabinet. They produce very different light, and the difference is not brightness.
LED tape in a channel
Tape is a flexible circuit board with diodes along its length and adhesive on its back, cut to length at marked intervals, run at low voltage from a driver. Its virtue is continuity: a line of light rather than a series of points, which gives you an even wash from one end of the counter run to the other with no dark gaps.
It only behaves that way inside a channel. Bare tape stuck to the underside of a cabinet shows every diode as a separate dot, and those dots reproduce themselves in the counter as a row of hard reflections. An aluminum extrusion with a frosted lens does two jobs — it blends the dots into a line, and it acts as a heat sink. Heat is what shortens LED life, and a strip glued straight to a melamine cabinet bottom has nowhere to dump it.
Two more things about tape that get found out later. Adhesive backing is not a mounting method in a warm cabinet run; the channel should be screwed or clipped up, with the tape inside it. And diode density matters more than the output figure on the box, because sparse tape behind a lens still reads as beads if you look along it from the far end of the room.
Puck lights
A puck is a discrete fixture that throws a cone. Surface-mounted, it sits proud of the cabinet bottom and is visible from anywhere lower than the cabinet. Recessed, it disappears into the cabinet bottom — but only if that bottom is thick enough to take the housing without breaking through into the cabinet above, which on thin builder-grade boxes it often is not.
Spaced along a counter run, pucks give you pools with dimmer gaps between them, and scallops of light up the backsplash. Some people like the scallops. Nobody likes chopping on the dark part between two of them.
Which one belongs where
For continuous task light over a run of counter, tape in a channel. For a single target — the inside of a glass-front cabinet, a corner, a coffee station, a shelf where the point is to light the object rather than the surface — a puck does that with less hardware.
The mistake is mixing them in the same sightline. A tape run over the sink wall and pucks over the range wall gives you two different qualities of light in one room, and the eye picks that up immediately even when nobody can say why.
Mounting position matters more than brightness
This is the part that gets decided by whoever is holding the drill, usually at the end of a long day, and it is the part that decides whether the light works.
Front, not back
Mount the fixture toward the front edge of the cabinet underside. Light then falls onto the front working strip of the counter, where your hands are, and whatever hits the backsplash arrives at a glancing angle and carries on down.
Mount it at the back, tight against the wall, and you get the opposite: a brightly lit backsplash, a working edge in shadow, and a bright band reflected straight back into your eyes off the tile. It is the single most common under-cabinet mistake we find, and it is not fixable with a dimmer.
Hiding the source
You should never see the emitter itself from a normal standing or seated position. Whether you do depends on the cabinet door.
Full-overlay doors hang past the bottom of the cabinet box and hide a surface-mounted channel on their own. Inset doors sit flush inside the face frame and hide nothing, so you need either a recessed channel or a light rail — a strip of matching material applied to the front edge of the cabinet bottom to shield the source. That is a cabinet-order decision, not a lighting one, and it has to be made when the shop drawings are approved. How the door sits on the box is covered in inset or overlay; this is one of the practical consequences.
Seated sightlines are the ones people forget. Someone at an island stool or at the kitchen table sits lower than you do at the counter, and a fixture that is invisible standing up can be a bright bar in the eye from a chair. Sit down in the room before signing off on a mounting position.
The counter and the backsplash are mirrors
Polished stone is a mirror. So is polished quartz, and a glass or polished marble slab backsplash is a very good one. Point sources and undiffused tape show up in all of them as visible fixtures, doubled. Honed, leathered and matte surfaces scatter the same light and forgive a lot.
So if you know you want a polished counter or a glass backsplash, the lighting spec gets stricter, not looser: diffused channel, mounted forward, dimmable. Worth reading alongside where the tile should stop and the countertop material comparison, because these three choices interact and usually get made by three different people on three different days.
Color temperature, and matching it to everything else
Pick one color temperature for the whole room and hold every fixture to it — cans, pendants, under-cabinet, the light inside the glass cabinet. Mixed temperatures in one kitchen look like a mistake even to people who have no idea what color temperature is. They just see that one part of the room is yellow and one part is blue.
Which end you pick depends on what the light is landing on. Warm light flatters wood, brass and cream painted cabinets, and it makes a white quartz counter look slightly ivory. Neutral light keeps whites reading white and makes food look closer to how it looks in daylight, and against warm oak it can read cold. That is a genuine it-depends, and what it depends on is your cabinet color and your counter, not a rule.
Buy the tape, the pucks and the lamps for one room from one product family where you can, because two manufacturers' versions of the same nominal temperature are rarely identical. And watch color rendering, not just output — under-cabinet light is what you look at raw chicken and fresh herbs under, and poor rendering shows up there before it shows anywhere else in the house.
The driver, the cable, and when it has to be decided
Low-voltage tape needs a driver, and the driver has to live somewhere. Somewhere means accessible: inside a wall cabinet, in a base cabinet, in the toe-kick with a removable panel. Not sealed inside a soffit or buried behind drywall with the tile set over it. Drivers fail eventually, and one buried in a finished wall turns a small replacement into demolition. If your kitchen has a soffit over the wall cabinets, it is worth knowing what is inside it before anyone decides to put equipment up there.
The same goes for connections. Splices belong in accessible enclosures, and low voltage does not change that.
Cable routing is the part with a deadline. Getting power to the underside of the wall cabinets means a run inside the wall, up behind where the backsplash will be, and that is easy while the wall is open and awkward afterwards. So this gets specified during rough-in, along with outlet placement and any circuit changes — the last comfortable moment being the walk we describe in what to check the day before drywall. Adding circuits or moving them is electrical work, which is one of the triggers for a permit here; the City of Fishers takes those applications through its online portal, and we cover the general shape of that in do you need a permit in Fishers.
Dimming and switching
Under-cabinet light that cannot be dimmed gets used at one level and resented at every other hour of the day. Full output is right when you are prepping dinner. It is wrong before sunrise, and wrong once the room has gone quiet after supper — which is when a dimmed counter run does the work of a night light.
Dimming a low-voltage system means the dimmer and the driver have to agree. Mismatch them and the symptoms are always the same: flicker at the low end, an audible buzz from the driver, a dead zone at the bottom of the dial, or lights that refuse to strike at a low setting and need to be run up before they come on. None of that is a defect in any single component. It is two components chosen separately. Buy the dimmer, the driver and the tape as a matched system, or expect to swap parts until they get along.
Switching is simpler and gets done wrong anyway. The under-cabinet run wants its own control, separate from the ceiling layer, so you can have one without the other. Put it where your hand goes when you walk into the kitchen, and not on the short piece of wall that ends up behind the coffee maker.
Adding it to a kitchen that is staying
Under-cabinet light is one of the few upgrades that changes how a kitchen feels to use without touching the layout, so it comes up constantly on kitchens where the cabinets and the counters are staying put. What is realistic depends on whether the backsplash is coming off.
If it is, treat it as new work: cable in the wall, driver in a cabinet, recessed or shielded channel, done properly.
If it is not, be honest about the limits. Chasing a cable through a finished tiled wall costs more than the light is worth and rarely ends with the tile looking untouched. The reasonable retrofit is a surface channel under the cabinets, cable routed through the cabinet gables and backs, and power taken from a receptacle inside a cabinet. That is a legitimate answer, not a compromise — it just needs saying out loud before anyone starts, rather than discovered halfway through.
Where it lands in the budget
We do not publish our own prices, for the same reason we give everywhere else: a number written before anyone has seen your kitchen is a guess. For scale, Angi, Homeyou and Block Renovation research on this market puts a kitchen project at roughly $18,000–$24,000, with a full spread of about $8,000–$40,000.
Under-cabinet lighting is a small line inside that, and cutting it saves almost nothing while costing you something every day you cook. The expensive part is never the fixture. It is the wall being open, the channel being ordered with the cabinets, and the driver having a home — all decisions made early, cheaply, and only once.
What to remember
Tape in a channel for a run of counter, pucks for a specific object. Mount toward the front edge. Shield the source so nobody sitting down looks straight at it. One color temperature through the whole room. One matched family of tape, driver and dimmer. And decide all of it before the drywall closes and the tile goes on, because that is the difference between a wire in a wall and a chase cut through new tile.
If you are planning a kitchen and want this specified with the cabinets rather than after them, that sequencing is what the kitchen remodeling page describes. When you want someone to look at your actual run of cabinets, ask for an estimate and we will walk it with you.
