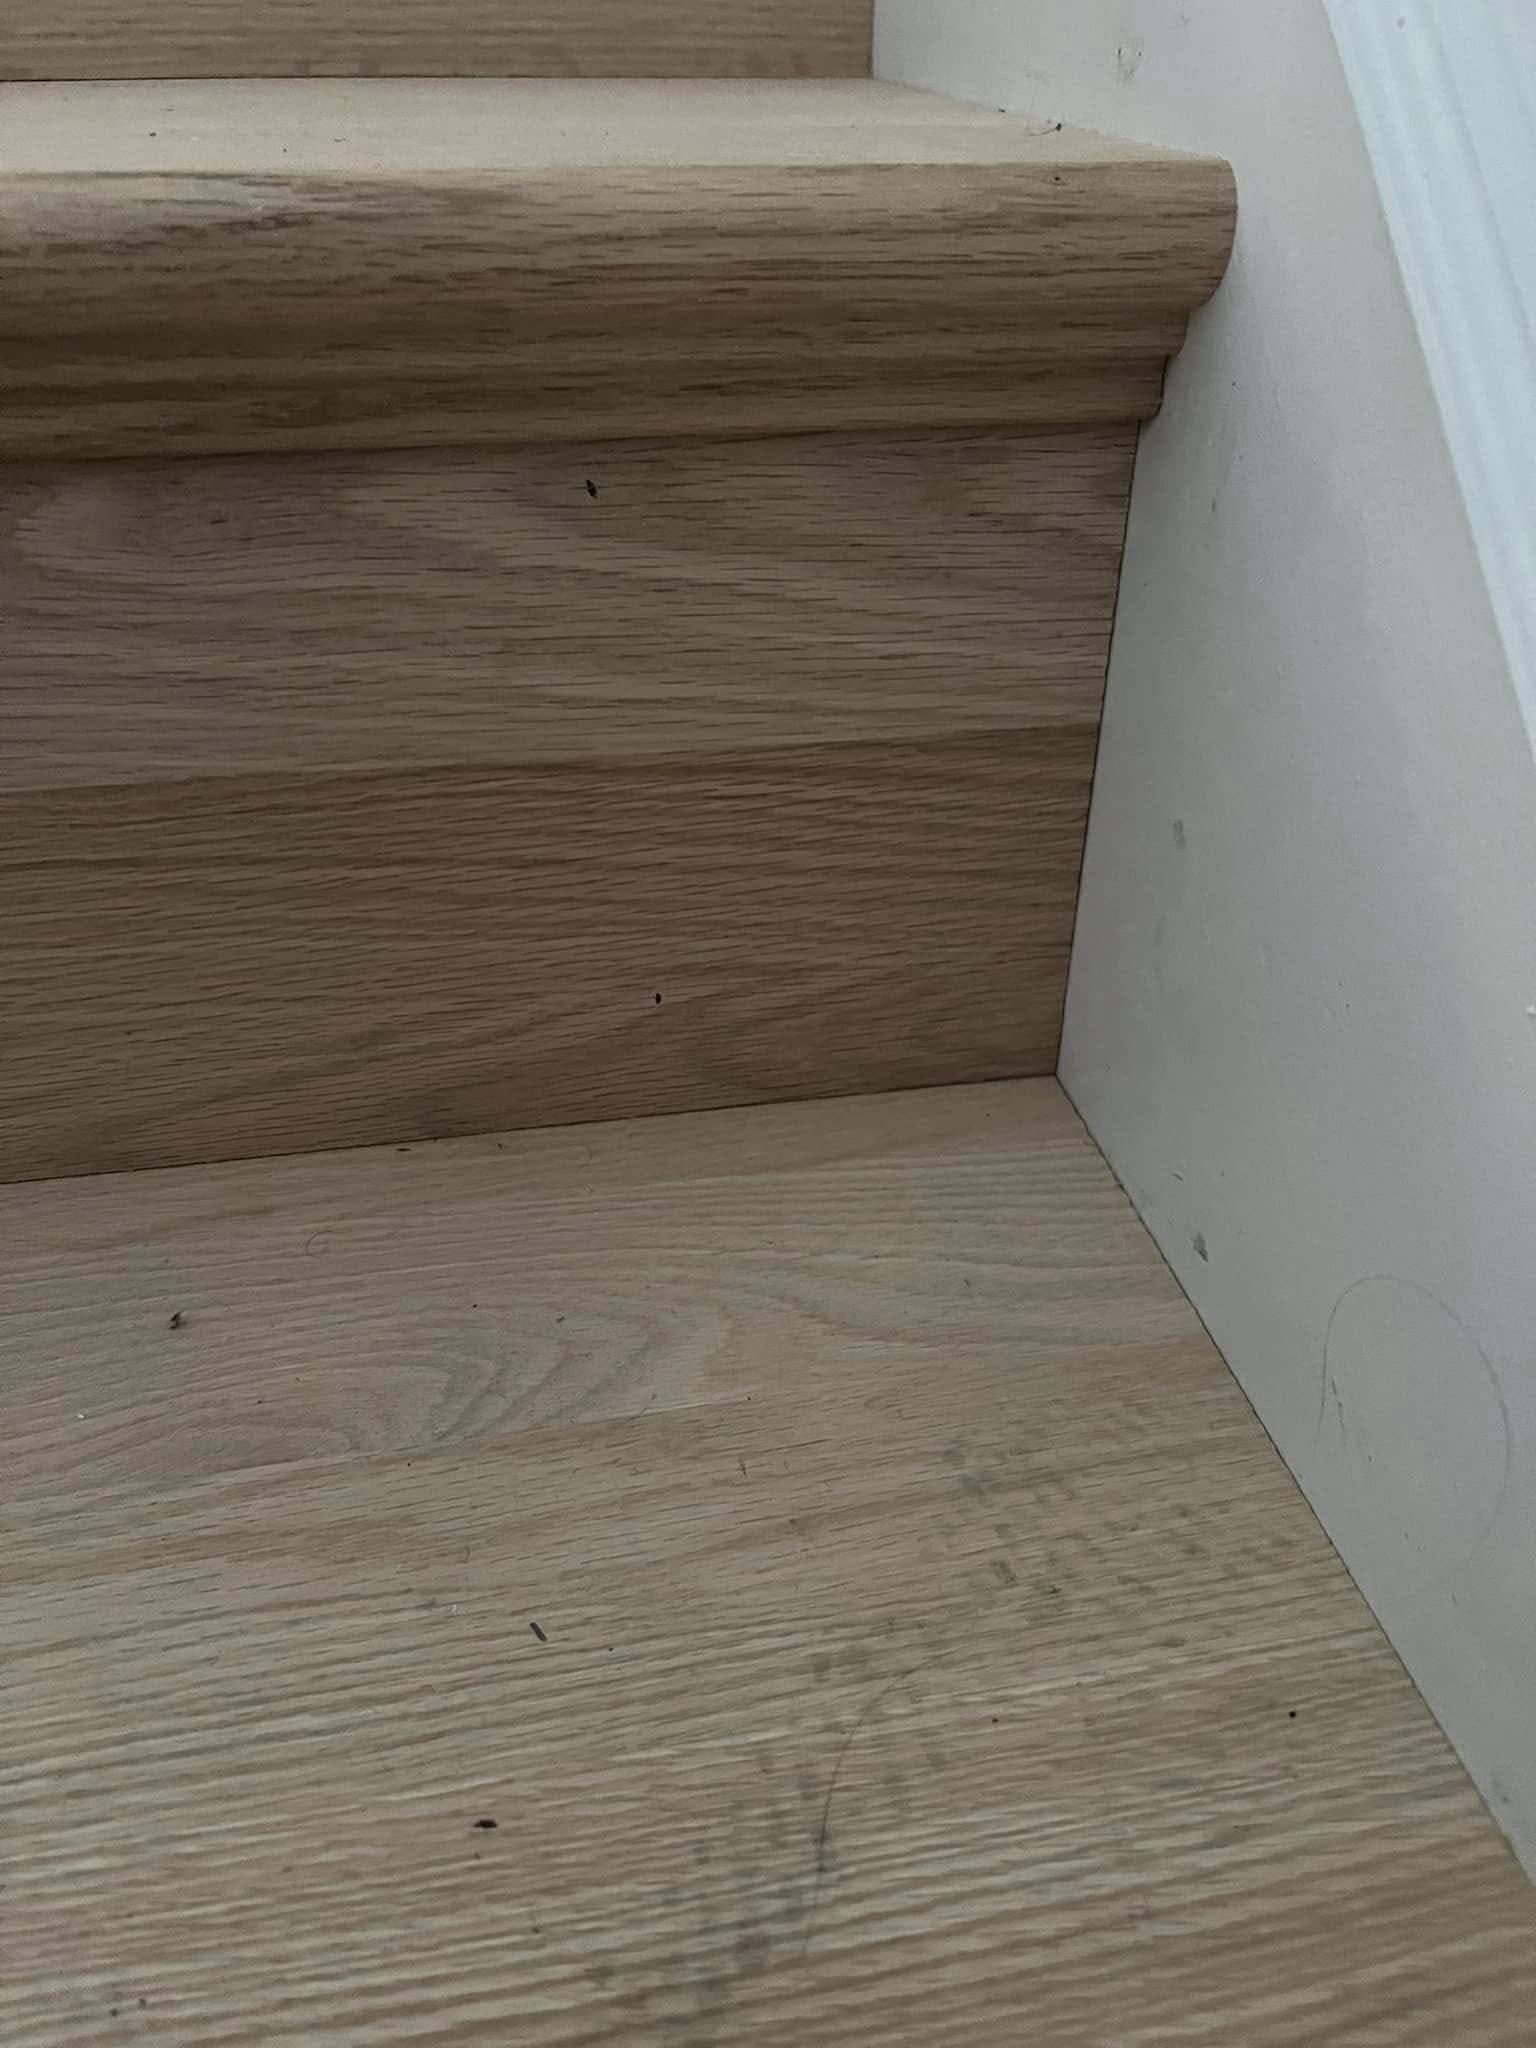
A room can have the right tile, new cabinets and a floor that cost more than the appliances, and still read as almost finished. What gives it away is nearly always the trim — and not the profile anyone chose. The joints.
Nothing in a house meets anything else cleanly. Drywall stops short of the floor. A door jamb sits in an opening framed deliberately larger than the door. Flooring leaves a gap at every wall so it can move with the season. Trim covers all of that, and covering is the easy half. The other half is making the cover look intended.
Trim inherits everyone else's tolerance
Framing is worked to one tolerance. Drywall to a finer one. Cabinets finer again. Trim goes on last, and it has nobody left to pass an error to.
So the trim carpenter is the one who finds out the wall leans, the corner is not square, the floor sags toward the middle of the room. A length of baseboard is straight. Floors are not. You scribe the base down to the floor, or set it level and close the gap with shoe, or shim it and hope the caulk holds. The third one always shows.
Light under a baseboard is the classic tell, and it is usually not a trim problem at all. It is a floor that never got flattened, which is its own stage, done before anything is nailed.
Baseboard height, and what actually sets it
There is no correct baseboard height. There is a wrong one for your room, and it is easy to land on by picking from a catalog instead of measuring the house. Four things set it, in this order:
- The ceiling. A tall base in a room with a standard ceiling eats wall and makes the room read shorter. A short base under a raised ceiling looks like it shrank in the wash.
- The casing width. Base and casing are a pair. The base should be taller than the door casing is wide, so it arrives at the casing and stops against a shoulder rather than fighting it for the same space.
- The casing thickness. The base must be thinner in profile than the casing is thick. Backwards, and the base stands proud of the casing — then someone bevels the end back or introduces a plinth block to hide the step.
- The trim already in the house. If the rest of the floor keeps its original profile, the new work either matches it or the change happens somewhere deliberate — at a door, at a corner, at the top of a stair. Never mid-wall.
That last one carries the most weight in an older house. An original profile is rarely something a supplier keeps on the shelf, but it can be milled to match, and usually enough of the old trim survives somewhere in the house to copy from. Match or replace wholesale is a real fork in the budget, and it belongs on the estimate as its own line — like most of what turns up in a house of that age.
Building height instead of buying it
A tall single-piece base is one way. Stacking is another: flat stock with a separate base cap on top, which reads taller and matches old profiles more closely than any stock run.
At the bottom, shoe or quarter round. Shoe is the thinner and taller of the two, and it follows the undulation of the floor while the base stays level — which is the point, because the floor is the thing that is not flat. One rule about it gets broken constantly: shoe is nailed to the base, not to the floor. The gap it covers is an expansion gap. Pin it down through the flooring and you have fastened the floor to the wall.
Where height stops being a preference
In a basement, the finished ceiling is whatever the ducts and beams left you, and a tall base in a low room reads wrong from the stairs. That height is settled long before trim, but trim is where you feel the result. Stairs are the other place: base on a stair has to rake with the skirt board and land on the same lines top and bottom, which is layout work rather than carpentry speed.
Casing, and the reveal that gives everything away
The reveal is the sliver of door jamb left showing along the inside edge of the casing. It exists so the casing never has to sit flush with a jamb edge that is never perfectly straight.
Consistency is the whole game — the same reveal on both legs and on the head. A reveal that tapers down one leg gets noticed from across the room, because a doorway is the thing people look straight at. No reveal at all reads as a mistake, not as a minimalist choice.
Before any casing goes on, the jamb has to sit in the plane of the wall. A jamb standing proud rocks the casing off the drywall and opens the mitre at the top corner. A jamb sitting back leaves the casing bridging air. The fix is planing the jamb or shaving and re-floating the drywall — not caulk. Caulk there is a postponement, and it cracks once the heating season dries the house out.
Mitred head or butted head
A mitred head casing needs both sticks milled to the same thickness and a flat wall behind them. A butted head — square-cut legs with a flat head casing across the top, often with a backband above it — forgives an imperfect opening, and in a lot of the older housing stock around Fishers and Noblesville it is the original detail anyway.
Mitre or cope
Outside corners get mitred, glued and pinned. Check the corner first: drywall corner bead builds a corner out past square, so a straight mitre leaves a gap at the toe. The cure is a back-cut, so the faces close and the waste sits behind.
Inside corners get coped. A cope is the profile of one piece cut away so it rides over the face of its neighbor — one stick runs into the corner square, the other is scribed to sit on top of it. It takes longer than a mitre, and we want it on every inside corner for one reason: an inside mitre opens.
It opens because the corner is not square, and it opens again because wood moves. Around here that movement is seasonal — heating season dries everything out, summer puts it back — so a hairline at a joint in February is the material behaving normally, not a defect. A coped joint hides that behind an overlapping profile. A mitred one displays it.
On a wall longer than the stock, the pieces meet at a scarf joint — a bevelled overlap landed over a stud, not a butt joint floating over a cavity. A butt joint in a long run shows through paint as soon as the wood moves.
What the trim is made of decides how it behaves
- MDF. Dead straight, no grain to telegraph through paint, and it takes a painted finish flat. It also swells permanently when it gets wet, beginning at the cut end nearest the moisture.
- Finger-jointed pine. Real wood, stable enough for paint, holds a nail without crumbling. Joints can ghost through a thin paint film.
- Poplar. Paint-grade solid stock that mills crisply and holds an edge on a cope, which is what a fine profile needs.
- Hardwood. Stain grade, and stain grade changes the labor more than the material cost: every joint stays visible forever, no filler, no caulk.
- PVC and composite. Where water lives — basement floor lines, the base beside a tub, anything exterior.
Material follows moisture, not budget. In a basement the baseboard sits at the coldest, dampest line in the room, against a wall assembly whose whole job is keeping that line dry. MDF base there is a decision to replace it later.
Everything has to die into something
This is the rule that separates a resolved room from a nearly-resolved one. Every run of every material should end at a physical thing — an outside corner, a casing edge, a cabinet end, a jamb. A run that stops in the middle of an open plane reads as unfinished for as long as the house stands:
- Flooring stops short of the wall for expansion, and the shoe covers the gap.
- A threshold or transition strip lands under the closed door, so each room reads as one floor from inside it.
- Tile ends at something solid, which is where a backsplash should stop — cabinet, outside corner or casing, never open wall.
- A window gets either a stool and apron, with the stool horns running past the casing on both sides, or a picture-frame casing with the jamb extended flush to the wall. In an older house with deep walls, the extension jamb is most of the work.
- Cabinet runs get scribed to the wall, and crown returns at the end of a run instead of stopping in air.
Mixing stool-and-apron windows with picture-framed ones in the same sightline is the version of this people notice without knowing why they noticed.
Fill, caulk, and the difference between installed and finished
On painted work, nail holes get filled, sanded and spot-primed. Caulk belongs at the trim-to-wall joint and at trim-to-trim on paint grade, nowhere else. It closes a hairline. It does not fix a joint that was cut wrong — it delays the moment you see it. On stain grade there is no caulk at all. Cut ends get sealed either way: end grain is where moisture goes in, and a raw end standing on a slab or behind a tub is the failure point on an otherwise sound run.
Then the room gets walked with a light held low, raking along the floor line and up the casings. That is how a proud joint or a wandering reveal shows itself, and it is what a punch list is for. Filler, sanding and paint are the stage most often compressed when something earlier ran long, and they are the difference between trim that is installed and trim that is finished.
Where trim hides in a quote
Trim rarely appears as one number. It sits inside finish carpentry or gets absorbed into a room line, which makes it a quiet place where two quotes diverge. What moves it: linear footage, how many profiles are running, stain grade versus paint grade, the count of openings — every door is two sides of casing plus a jamb — and whether existing trim has to be matched rather than bought.
For scale, published Indianapolis basement-finishing research including Angi puts a finished basement at roughly $25–$65 per square foot — about $25,000–$65,000 for a 1,000 sq ft basement. Trim is a small share of a number like that, and a large share of what anybody notices afterwards.
If a line for it does not appear at all, ask. That is the same question worth asking of every vague line — reading an estimate properly is mostly finding what is not written down.
What to remember
Trim is not decoration applied at the end. It resolves every place two materials meet, and it inherits every tolerance the trades before it left behind. Cope the inside corners. Keep the reveal identical on both legs and the head. Size the base to the ceiling, to the casing, and to the trim the rest of the house already has. Pick material for where it lives, not for what it costs. Make everything die into something.
It is also why trim carries through to the next room on kitchen work rather than stopping at the doorway, and why trim, doors and the joins to every adjoining room are the last stage of a finished basement — the part that decides whether the space reads as part of the house or as a room added to it.
If yours is at that stage, or you want to know what matching existing profiles would take, ask for an estimate and we will walk it with you.
