A tub gets chosen from a photograph. It gets installed by three trades, and what those trades need to know is not the shape — it is where the weight lands, where the water arrives, and where the drain goes. Two of those three answers have to be right before the drywall goes on, and one of them is effectively permanent once the floor is tiled.
Alcove, drop-in and freestanding are not three styles of the same fixture. They are three different installations that happen to hold the same water.
Three shapes, three different installs
The alcove tub
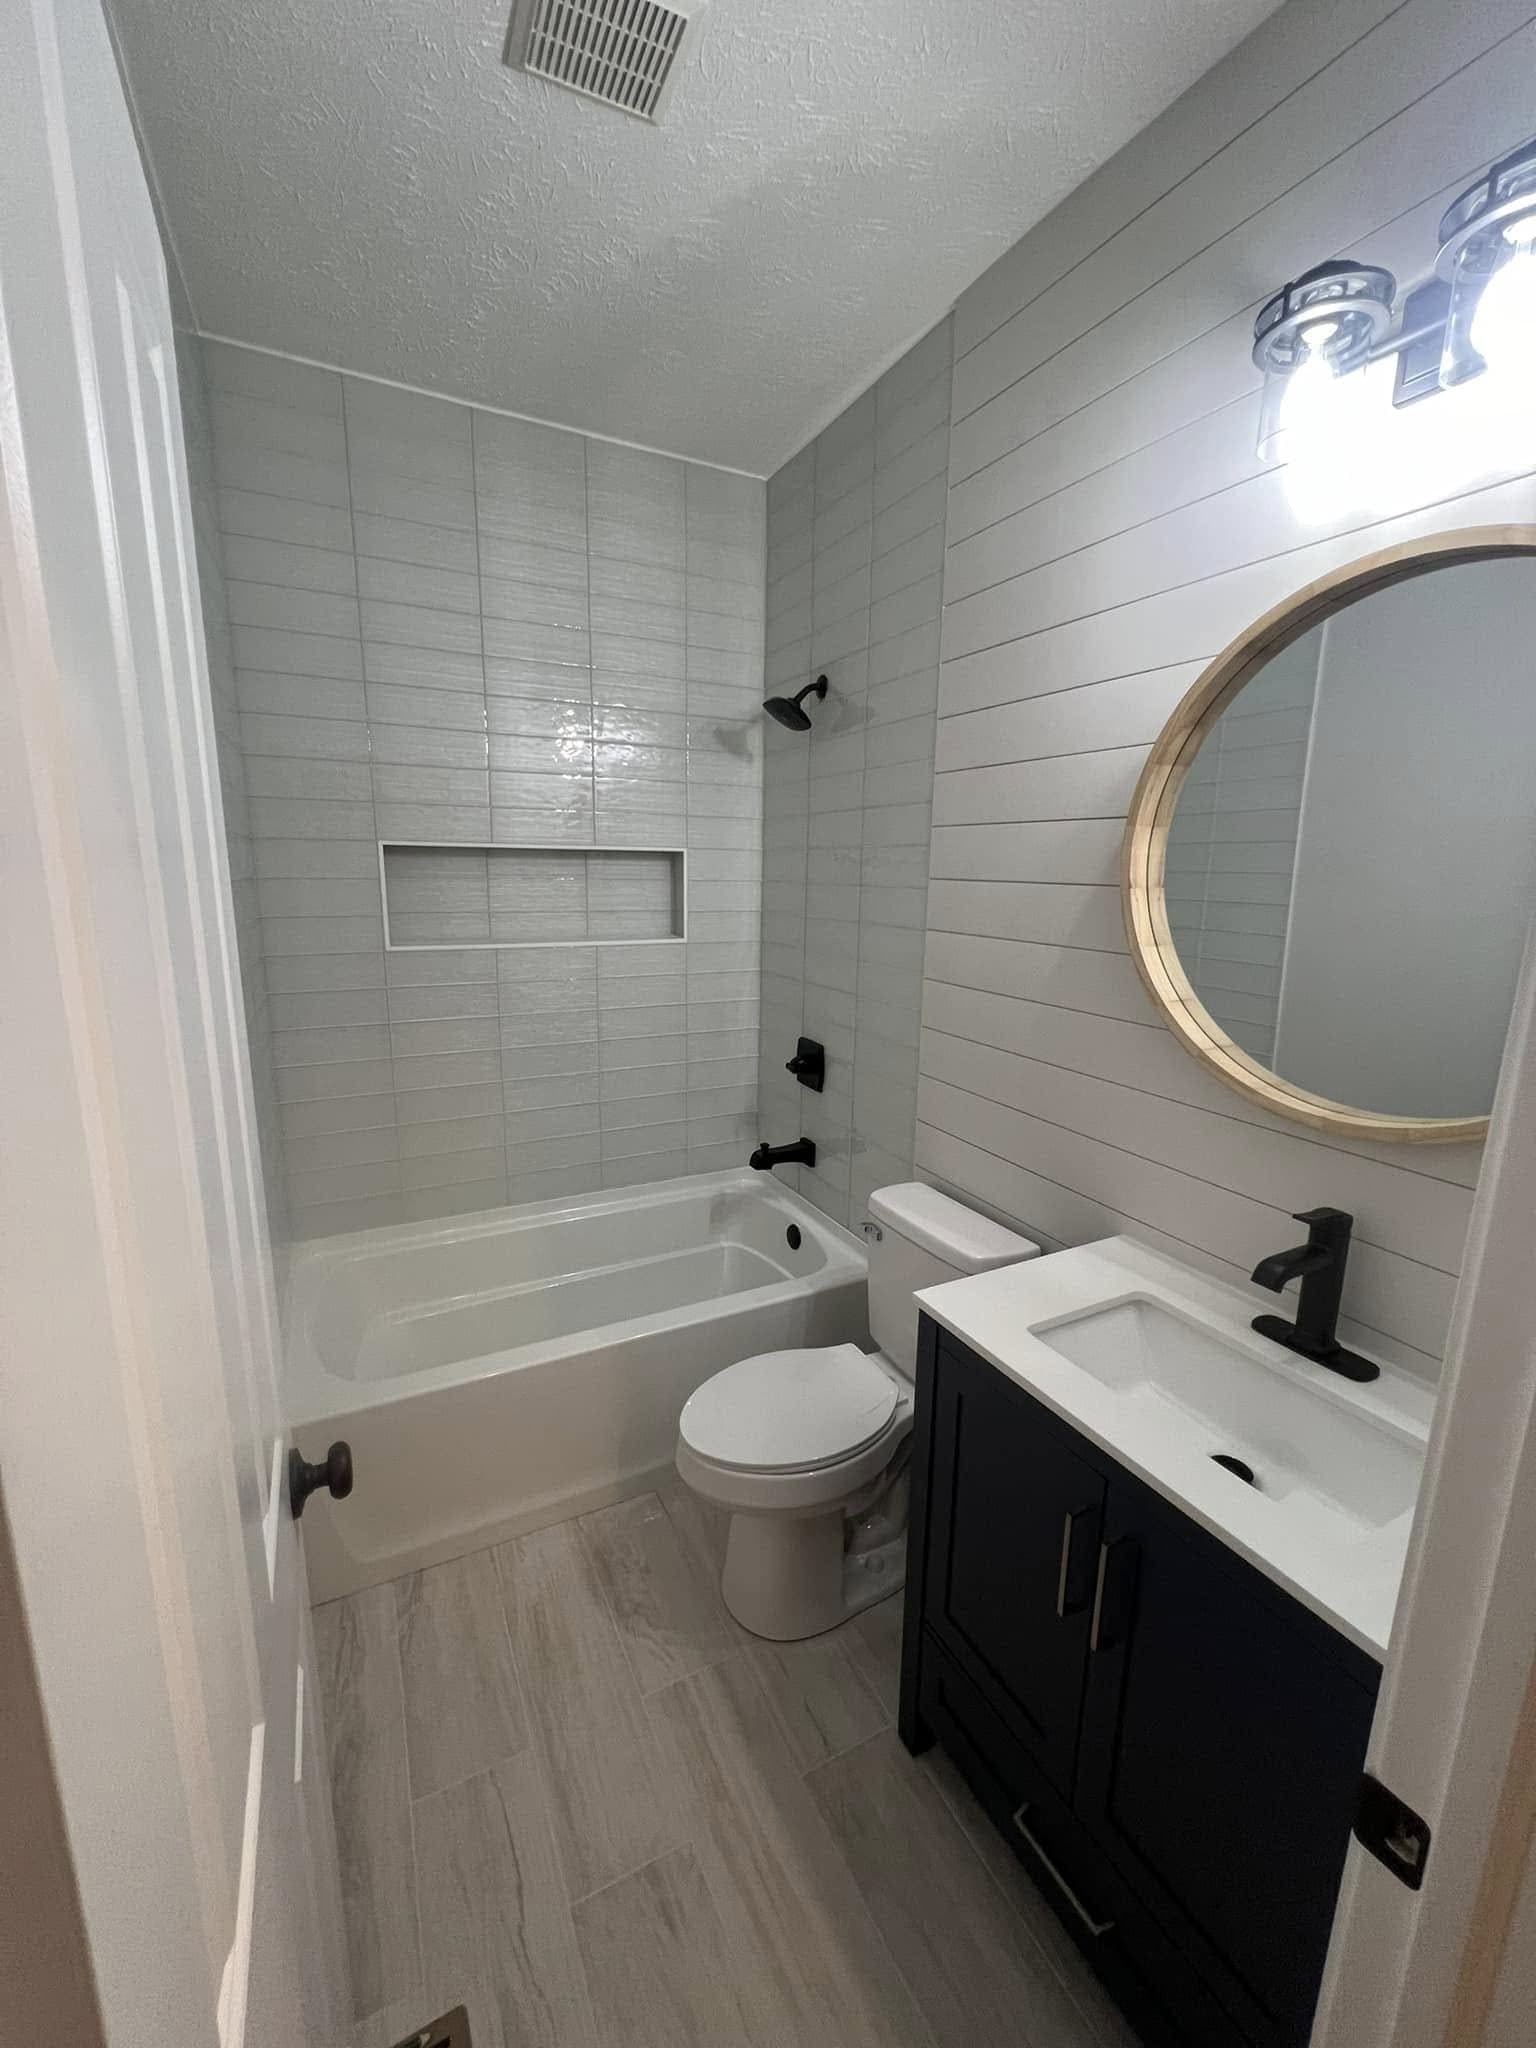
Three walls and one open face. The tub carries on an integral ledge fastened to the studs, and every plumbing connection lives in one wall — the wet wall at the drain end. Supply, valve, spout, waste and overflow all sit in a short run of stud bays that can be opened again from the other side if something goes wrong. The apron hides everything between the rim and the floor.
It is the cheapest of the three to install, and there is nothing cynical about that. One wall does all the work, and the framing that holds up the house holds up the tub.
The trade-off is that the alcove dictates the tub. Once those three walls exist, the opening is the opening, and tubs are sold to fit the openings builders frame. Changing one is a framing job that drags the door swing, the vanity and the toilet clearance along with it.
The drop-in
A drop-in sits inside a deck you build — a framed platform, decked, waterproofed, surfaced in tile or stone. Undermount is the same idea with the rim hidden below that surface. You are building furniture with a bathtub in it.
The deck buys you a ledge, a place to mount the filler, and a way to fit a tub into a room whose walls do not suit an alcove. It costs floor area, and it adds a horizontal wet surface that has to be treated like the inside of a shower rather than like a countertop — which is a waterproofing decision, not a tile decision.
It also asks you to step up and then down to get in. That is easy enough now and a different question later in life, worth settling while the room is still on paper if you plan to stay in the house, the same reasoning that runs through accessibility without a clinical-looking bathroom.
The freestanding tub
It sits on the finished floor, carried on feet or on its own plinth. No wall does any work. Every side is a finished side, which is the appeal and also the reason the room has to keep real clearance all the way around — you have to get a mop behind it, and a filled tub does not slide.
Free of the walls is not free of constraint. The drain arrives through the floor at one point, and if the filler is floor-mounted the supplies do too. An alcove tub goes where the alcove is. A freestanding tub goes exactly where the plumber set the stub-outs, and moving it later means coring a finished floor.
What the floor is being asked to carry
Empty weight varies enormously. Acrylic is light and flexes. Enameled steel is heavier and rings. Cast iron and stone resin are heavy before anyone turns a tap. Then add the water, then the person.
We are not going to publish a weight for your tub, because the manufacturer already did. The filled weight is on the spec sheet for the model you are buying, and that sheet is where the framing conversation starts. Where a tub is heavy and its footprint small — a stone-resin tub on a narrow plinth, a cast-iron slipper on four feet — the load is concentrated rather than spread. When that is genuinely marginal, the answer comes from an engineer, not from anyone's opinion on site.
If the joists run parallel to the long side of the tub, the load lands on one or two members. If they run across it, several share it. Blocking between joists under the feet spreads a point load; sistering adds depth where the span is long. None of that is exotic, but all of it happens before the subfloor closes, and it is priced very differently before than after.
Over a basement or a crawl, that is a look from below. Over a finished ceiling it is a cut and a patch, and we would rather make the cut during the estimate than meet the problem on delivery day. Same reason what is behind the wall is one of the four things that move a bathroom quote at all.
A floor that deflects under a filled tub does not usually fail. It moves — the grout joint at the apron opens, the tile telegraphs it, and something starts to talk when you walk past. Stiffness is cheap while the floor is open and expensive after, which is also why floors squeak and what stops it.
The filler gets decided before the drywall closes
There are four places a tub filler can come from, and each one is a different rough-in.
- Wall-mounted. Supplies and valve in the wall behind the tub, at a height set off the finished rim. Needs blocking, and needs the tub picked before the plumber sets that height.
- Deck-mounted. Through the deck of a drop-in, connections underneath — so the deck has to be built with a way to reach them.
- Rim-mounted. Some freestanding tubs take a filler on their own rim, with the supplies still coming up through the floor inside the footprint.
- Floor-mounted. A tower out of the floor on its own risers.
The floor-mounted filler is the one that catches people. Two supply lines come up through the subfloor at an exact spot, and the riser has to be anchored below, normally to blocking between joists. That anchor is not optional. Every time someone swings the spout, the tower takes a twisting load at the floor line. Anchored to nothing it works loose, and when it weeps, it weeps under the floor where nobody sees it for a season.
Those stub-outs are dimensioned off where the finished tub will sit, not off the framing — and where it sits depends on finished wall thickness, which depends on substrate, membrane, thinset and tile. So the model gets chosen before rough-in. Without a model number by then, we are guessing at a hole in the floor. Same logic applies to the valve behind the wall and to the blocking that has to go in while the studs are open.
Reaching the drain after the tile is on
Every tub has a waste-and-overflow assembly and a trap under it. What separates the three shapes is who can reach that assembly once the room is finished.
An alcove tub is the easy case. The waste and overflow sit against the wet wall, reachable from the other side of it or from the ceiling below. Where a closet or a hallway backs the drain end, a panel there costs almost nothing while the wall is open.
A drop-in gets an access panel built into the skirt at the waste and overflow — a removable tiled panel, or a hatch inside the neighboring vanity. Either is fine, as long as it is drawn before the tile layout. A panel added afterwards never lands on a grout line.
A freestanding tub is the hard case. The connection is made under the floor and the floor closes over it. If the room below is finished, plan the access now — a panel in that ceiling, put where you can live with it, is the difference between a repair and a demolition. If there is no ceiling to open, the honest answer is that a leak later means lifting tile.
The floor under the tub, and the tile around it
A freestanding tub sits on the finished floor, so the tile runs wall to wall and goes down first. More tile, more cuts, more setting labor than the same room with an alcove. The floor also has to be flat where the feet or the plinth land. Adjustable feet have a range and it is small; a plinth has none, and a hollow under one corner becomes a stress point in the base. Level and flat are two different measurements, and the one flooring cares about is flatness.
An alcove tub is the reverse. It goes in first, usually bedded in mortar under an acrylic shell so the base does not flex underfoot, and the floor tile stops against the apron. That joint is caulk, not grout, because two different materials meet there and move at different rates — one of the joints that fails first when somebody grouts it out of habit.
Heat in the floor gets drawn around the tub footprint, not under it — manufacturer instructions generally say not to run heat beneath a fixture that stands on the floor. Which is why a heated floor is planned alongside the tub.
Showering over it, or not
An alcove tub-shower is a solved problem: waterproof the three walls to height, hang a curtain or a fixed glass panel, done.
A freestanding tub with a ring over it is not the same thing. The water lands on a floor that is not a shower pan and drains nowhere. Done properly it turns the room into a wet room — whole floor waterproofed and sloped to a drain — which is a far larger job than the fixture suggests. If someone showers daily in your house, put the shower in a shower.
That also decides whether the tub can leave at all. Where it is the only bathing fixture in the house, taking it out narrows who can live there — the first question in any tub-to-shower conversation, and one that belongs to you rather than to a showroom.
Getting it into the room
Cast iron does not turn a winder without a plan. Measure the route, not just the room: front door, the turn at the landing, the newel post, the bathroom door with its casing on. A tub that fits the space but not the path is a change order waiting to happen, which is the point of working out what fits through the house first.
Removal counts too. Cast iron usually goes out in pieces, because it will not corner either, and breaking one in place means floor protection, dust control and a heavier demolition line than an acrylic pull-out — ordinary work in an older Hamilton County house.
What each choice does to the budget
We do not publish our own prices, for the reason we give everywhere else: a number written before anyone has seen your bathroom is a guess. What we can point at is independent research. Angi's Indianapolis bathroom cost research and published Greater Indianapolis contractor cost guides put a typical bathroom around $10,000, with most falling roughly between $5,700 and $14,700.
Where the tub moves you within that has less to do with the tub than people expect. The fixture is a line you can shop. The install is not. A drop-in adds framing, waterproofing and a stone or tile deck — carpentry before it is plumbing. A freestanding tub adds tile across the whole floor, a rough-in dimensioned off the finished fixture, and sometimes reinforcement below. An alcove adds the least, because the walls are already doing the work.
The short version
Pick the tub before the rough-in, not after the drywall. Get the filled weight and the rough-in drawing from the manufacturer and hand both to whoever is framing. Decide out loud how anyone reaches the drain years from now, and put the access in while it is still free.
Alcove is the efficient answer and there is no shame in it. A drop-in is carpentry and waterproofing dressed as a bathtub. Freestanding is the most demanding of the three about position, floor and access — worth it in a room with the space for it, a poor idea in a room without.
If you want someone to look at the floor under yours before anything is ordered, ask for an estimate and we will walk it with you. The sequence is on the bathroom remodeling page: strip out, then the part you never see, then finish. A tub lands in that middle stage, which is why it has to be settled in the first.
